Introduction
Acrylic nails have become a popular choice for nail enthusiasts seeking durability and style versatility. Whether you're a beginner exploring the world of nail art or someone who just wants to extend the life of your manicure, choosing the right acrylic powder is your first step to success. In this guide, we'll explore what makes a good acrylic powder, how to select the best one for your needs, and provide a simple overview of how to use it. And how to remove acrylics safely.
Want to find acrylic products for acrylic nails? Visit our store.
Nail Prep for beginner Nails
What is Acrylic Powder?
Acrylic powder, when combined with a liquid monomer, forms a malleable paste (or bead) that hardens into a durable surface. This technique is often used for creating acrylic nails extensions, overlays, or intricate nail art designs. The process involves sculpting the bead over your natural nails or tips, resulting in a strong, customised finish.
START WITH A TRIAL KIT
- Two core powers to try the consistency
- 30ml premium monomer so you can trial it with the powders
- High quality products to make application easy
How to use Acrylic Powder for acrylic nails
1. Preparation: Start by prepping your nails. File the nail surface lightly to remove the shine and apply a dehydrator to ensure optimal adhesion.
2. Mix: Mix the acrylic powder with a liquid monomer. To do this Dip your brush into the monomer, then touch the tip of the brush to the powder to create a small bead. You Need to practice your ratio to make sure your bead isn't to wet or too dry.
3. Application: Apply the bead onto your nail or nail tip. Use the brush to shape it, starting from the cuticle area and moving toward the tip. Ensure a smooth and even surface.
4. Curing: Allow the acrylic to harden. This usually takes a few minutes. Once dry, you can file and shape the nails to your desired finish.
5. Finishing: Apply a top coat for extra shine and protection.
"Remember, practice makes perfect, so don't be discouraged if it takes a few tries to master the application."
Key Features to Look for in Acrylic Powder
Consistency: Good quality acrylic powder should mix easily with the monomer and form a smooth bead. It should not be too runny or too dry, allowing for ease of application.
Clarity and Colour: Choose a powder that offers vibrant colour with minimal discolouration over time. Clear powder should appear transparent without any cloudiness.
Strength and Durability: A superior acrylic powder will form a hard, strong surface that resists chipping and scratches.
Ease of Filing: After the acrylic hardens, it should be easy to file without producing excess dust.
Choosing the Right Brand
When picking a brand, consider the following:
- Reputation and Reviews: Look for brands with positive reviews and those recommended by nail technicians.
- Price and Availability: Determine your budget and consider how frequently you plan to use the acrylic. Some brands offer kits that might be cost-effective for beginners.
- Variety: Some brands offer a wide range of colours and effects, such as glitter or pearl finishes. Choosing a brand with diverse options allows for creativity.

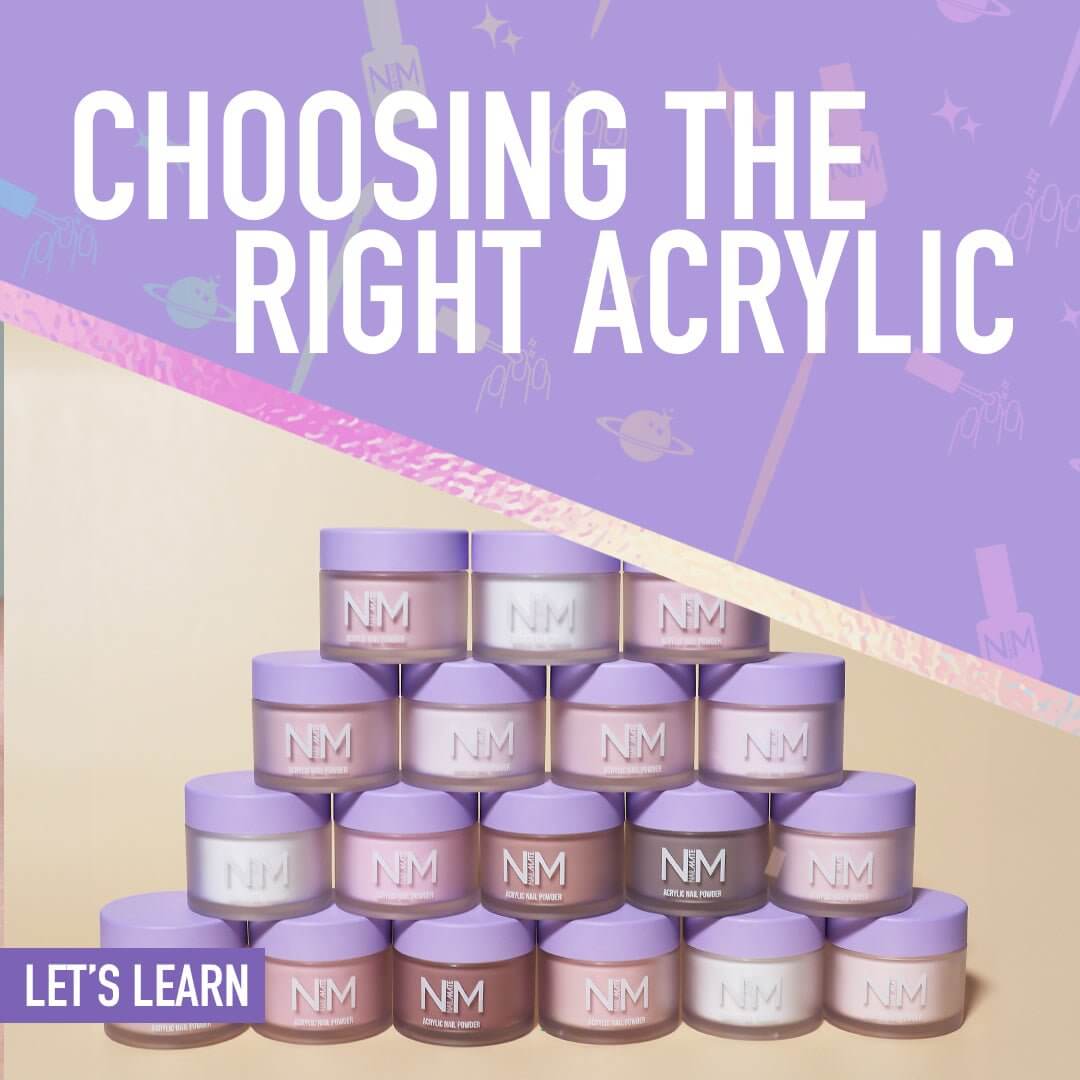
Nail Mate™️ Acrylic system has been made with both beginners and pros in mind.
- Over 18 core powder shades
- Vegan and Cruelty Free
- HEMA Free so perfect for those with Hema allergies
- Over 100+ acrylic colour and glitter acrylics to choose from
Selecting the right acrylic powder can dramatically impact the outcome of your acrylic nails and nail art. By focusing on consistency, clarity, durability, and reputable brands, you set the foundation for a stunning and long-lasting manicure. Remember, practice makes perfect, so don't be discouraged if it takes a few tries to master the application. With the right materials and a bit of patience, you'll be creating salon-quality nails from the comfort of your home in no time!
RECOMMENDED PRODUCTS
How to remove acrylic nails
Removing acrylic nails at home can be done safely by following these steps. Make sure to have all necessary materials before you begin.
- Acetone (100% pure is most effective)
- Cotton balls or pads or soak-off dish
- Aluminium foil (if not using a dish) & scraper
- Cuticle oil or moisturiser for after
Use the nail clipper to trim your acrylic nails as short as possible. Be careful not to cut your natural nail underneath.Instead of clipping straight across do it from each side.
Use a coarse 100grit nail file to gently buff away the top layer of your acrylic nails removing top gel. This will help the acetone penetrate the acrylic more effectively.
Soak cotton balls or pads in acetone or fill up your soak-off dish. Ensure the pads are saturated but not dripping excessively.
Place a soaked cotton ball on the acrylic nails, then wrap the entire finger in a piece of aluminum foil to hold the cotton ball in place. Repeat this for each nail. or if using a dish submerge your nails into the acetone making sure the acrylic nails are covered in acetone.
Allow your nails to soak in the acetone for about 10-15 minutes. This will help dissolve the acrylic.
Gently unwrap each finger from the foil. Or take out of the dish. The acrylic should be soft and easily slide off. Use a scraper or an orange stick to gently push off any remaining acrylic. If there is still acrylic left, re-wrap or soak for a few more minutes. and repeat the process
- After you’ve removed the acrylic nails, wash your hands thoroughly to remove any residual acetone or product.
- Apply cuticle oil and a rich hand moisturizer to replenish moisture in your skin and nails.
This method should safely remove acrylic nails at home without causing too much damage to your natural nails. Be patient and gentle to avoid any harm.
“Acrylic nails DON'T ruin your nails. BAD Application and removal do. Take time to look after your nails to keep them healthy”
FEATURED IN THIS BLOG
Frequently Asked Questions
How long does it take to remove acrylic nails?
Acrylic nails removal at home can take longer as you need to do one hand at a time. The process can be slow as you need to take care of your natural nails. Allow for 30-40minutes per hand.
Can I Use anything other than acetone to remove my acrylic nails?
No. Acetone is the most effective way to remove acrylic nails. If you didn't want to use acetone you can file the nails down and just leave a bit of product on the nail.
how can I speed up removal?
We have a special two tiered soak-off dish. In the bottom bowl you put warm water. then your acetone goes in the top bowl. This warms the acetone making it work faster at removing the acrylic nails.
Related readings
Ready to elevate your nail game?


