Goddess - Nail Mate Core Acrylic Nail Powder
- Regular price
-
127 kr - Regular price
-
- Sale price
-
127 kr
Couldn't load pickup availability
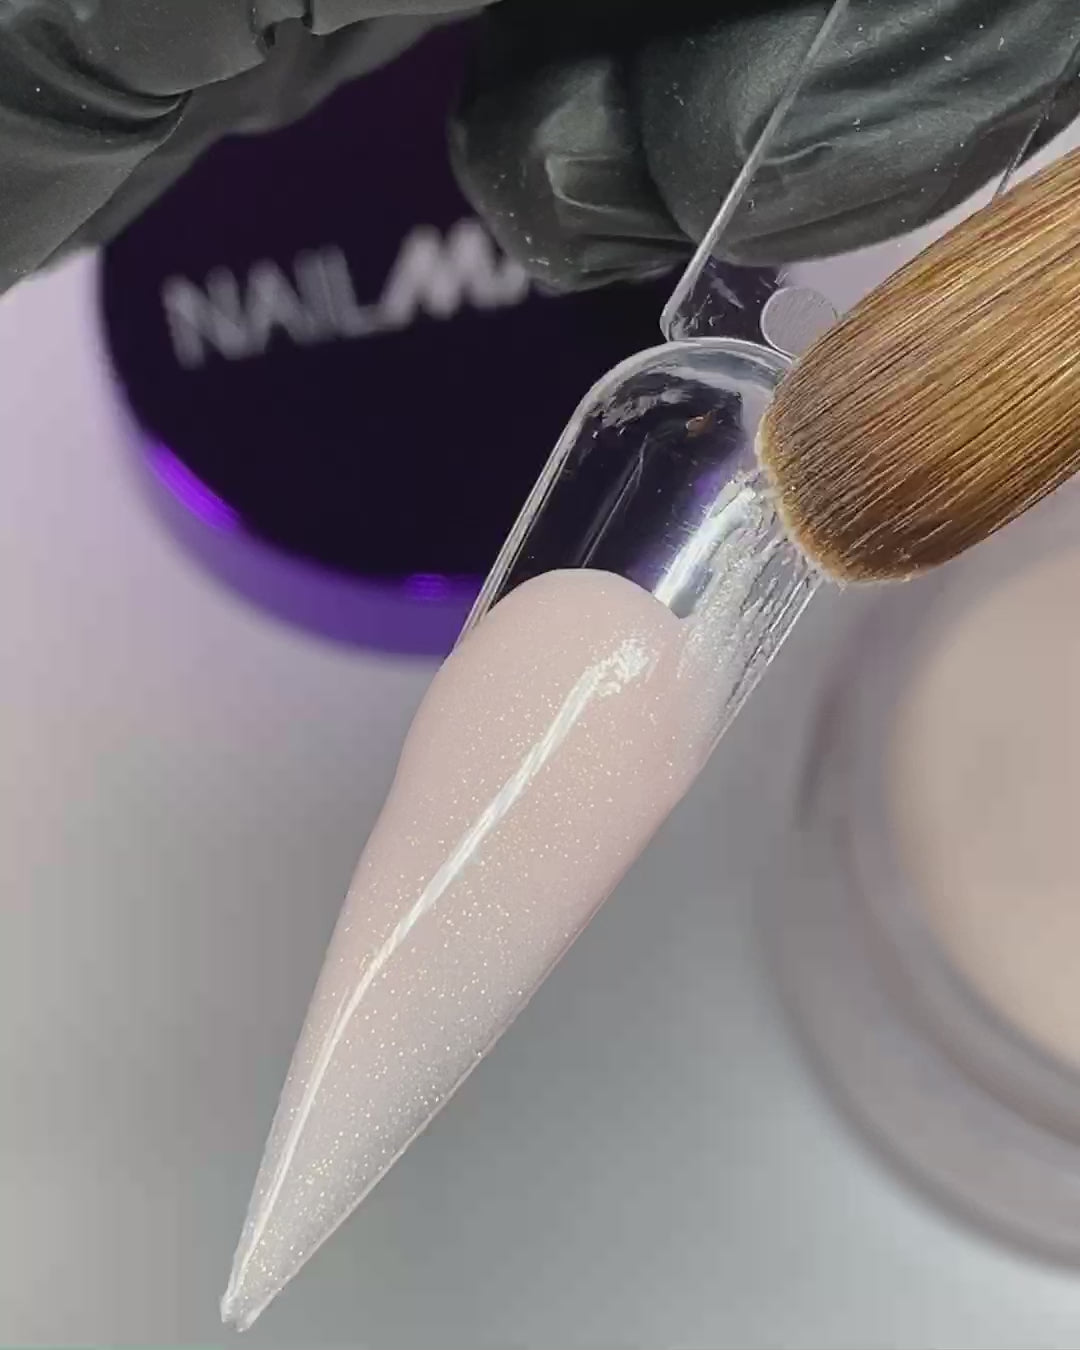
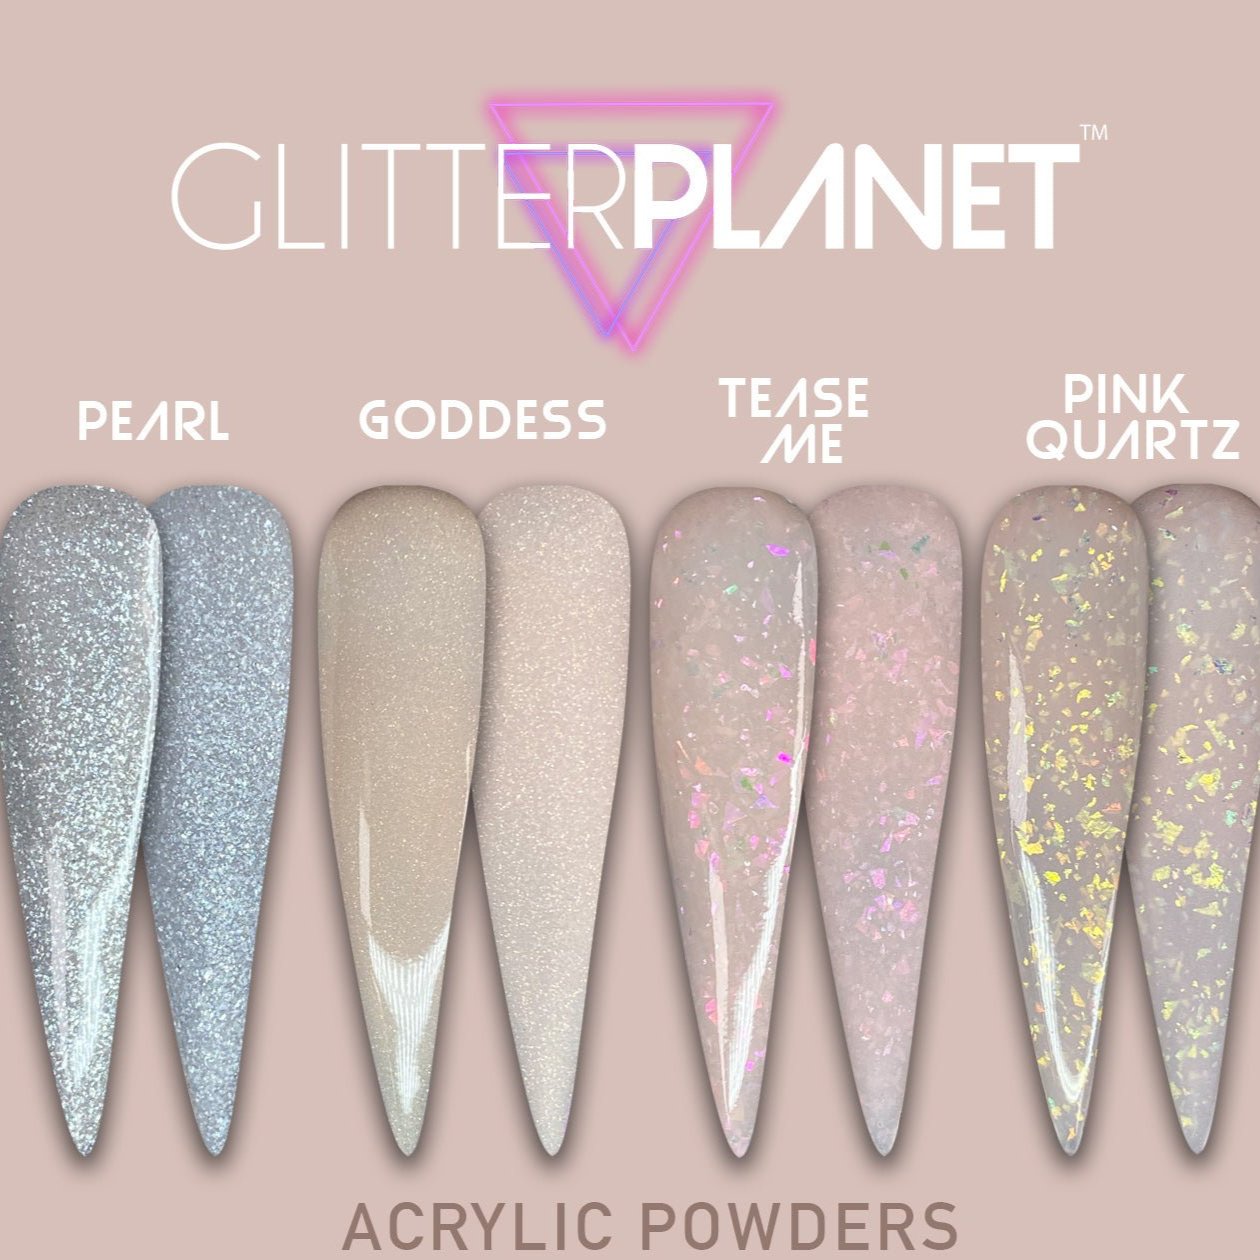
Goddess Gold shimmer Core Acrylic Powder
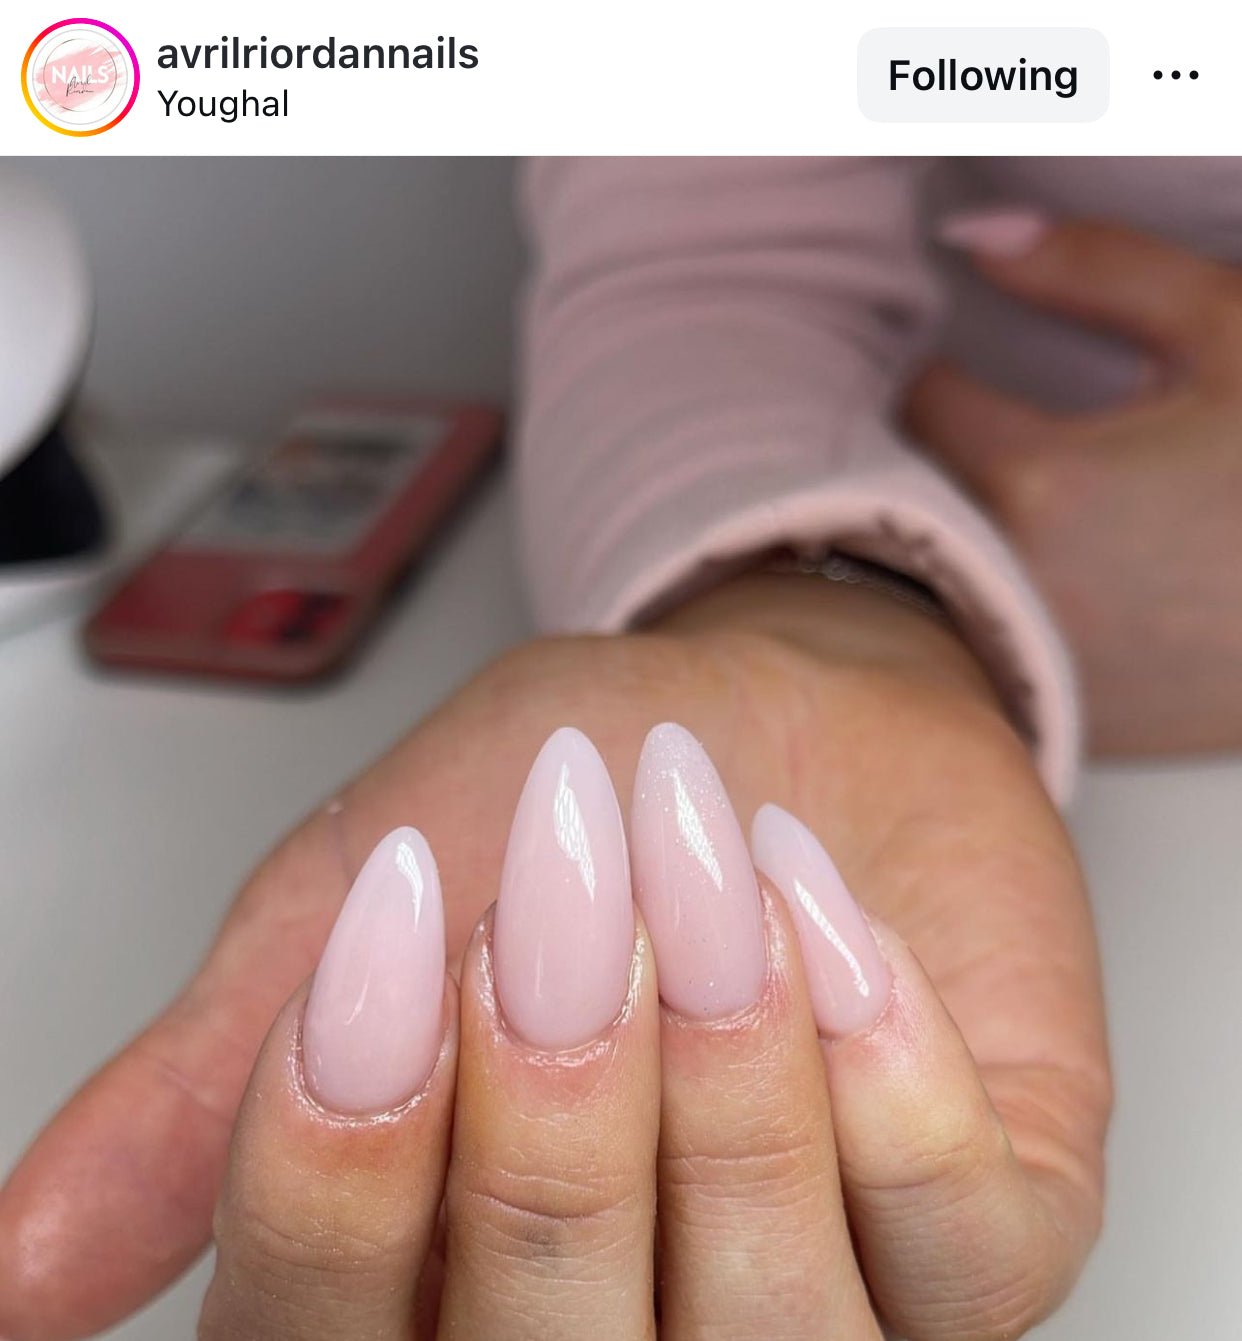
Introducing Goddess Core Acrylic Nail Powder – a luxurious light nude shade infused with a fine gold shimmer, designed to give your nails a radiant, elegant look. Perfect for creating natural, soft glam nails with a touch of sparkle, Goddess offers a smooth, flawless application and excellent adhesion. This core acrylic powder provides full coverage, making it ideal for overlays, sculpted nails, and classic nail extensions.
The subtle gold shimmer adds a sophisticated glow, making Goddess the perfect choice for special occasions or everyday wear. Its long-lasting, non-yellowing formula ensures that your nails remain stunning and chip-free for weeks, while the fine-milled texture allows for easy blending and shaping. Whether you're looking for a glamorous nude finish or a base for intricate nail designs, Goddess is the ultimate choice for a refined, glowing manicure.
Key features:
- Light nude shade with fine gold shimmer
- Smooth, full coverage application
- Long-lasting and chip-resistant
- Ideal for overlays, extensions, and sculpted nails
- Non-yellowing, fine-milled formula
- Suitable for professionals and beginners
Enhance your nails with a touch of luxury using Goddess core acrylic powder, perfect for achieving a glowing nude manicure that exudes sophistication.
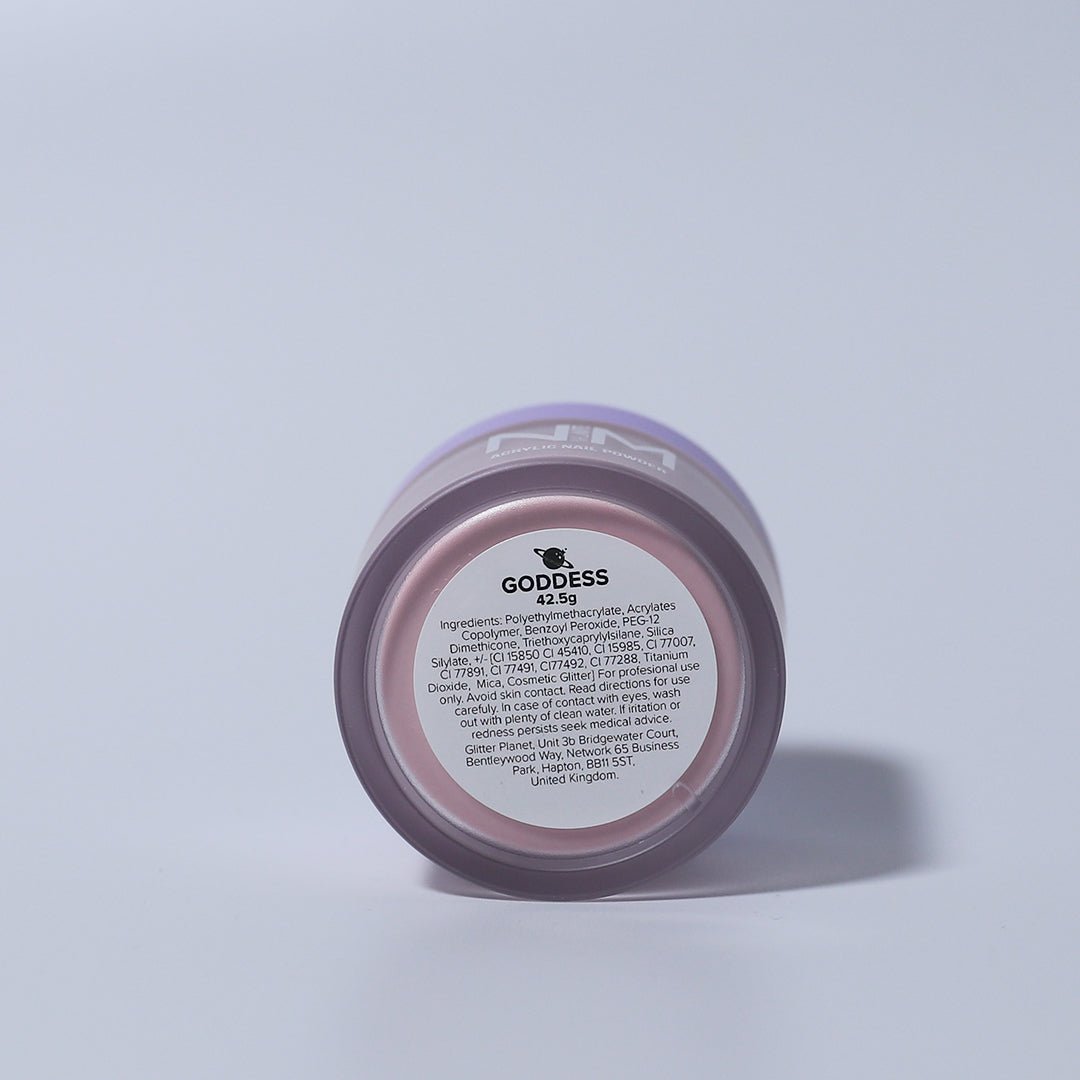
Jar: 42.5g Acrylic
This acrylic powder is a core powder so does not need capping in clear. However, If you want to you can use it as a colour powder and cap in clear depending on what nail design you are creating.
HOW TO APPLY NAIL MATE CORE ACRYLIC POWDERS TO NAILS
Applying Nail Mate Core Acrylic Powders using nail tips or nail forms involves several steps to ensure a smooth and professional-looking finish. Here's a detailed guide:
Step-by-Step Guide:
Preparation:
1. Clean and Prep Nails:
- Wash your hands thoroughly to remove oils and dirt.
- Gently push back cuticles with a cuticle pusher.
- Buff the natural nail surface lightly to remove shine.
2. Apply Nail Tips (if using):
- Select the correct size nail tip for each nail.
- Apply a small amount of nail glue to the well of the nail tip.
- Press the tip onto the natural nail and hold until secure.
- Trim and shape the tips to the desired length.
3. Apply Nail Forms (if using):
- Ensure forms fit snugly around the nail edge and secure them in place.
- Adjust the form to ensure it aligns with the natural nail shape.
4. Dehydrate and Prime:
- Apply safe scrub nail dehydrator to remove remaining oils from the nail plate.
- Apply a thin layer of pro bond or ultra primer to enhance acrylic adhesion.
Application:
5. Prepare Acrylic Mixture:
- Pour acrylic liquid into a dappen dish.
- Dip your acrylic brush into the liquid and gently wipe to remove excess.
6. Apply Acrylic to Nails:
- Dip the wet brush into the acrylic powder to form a bead.
- Place the acrylic bead near the designated point on the nail (e.g., the stress area for strength).
- Gently press and pat the acrylic into place, working from the cuticle area to the free edge.
- Use the brush to sculpt the desired nail shape and thickness, ensuring it's evenly distributed.
7. Build the Structure:
- Apply additional beads as necessary to build the desired nail structure.
- Ensure the apex (highest point of the nail) is slightly above the natural nail for strength.
8. Allow to Set:
- Allow the acrylic to dry and harden completely. This may take several minutes depending on the product used and the room temperature.
Finishing:
9. File and Shape:
- Once fully set, use a nail file to perfect the shape and smooth the surface.
- Buff the nails to achieve a smooth finish. You can come in with your gel nail design over the top at this stage if you wanted.
10. Apply Top Coat (Optional):
- Apply a top coat for added shine and protection.
- Cure under the Nail Mate PRO+ LED lamp if using gel top coat.
11. Final Touch:
- Wash your hands thoroughly and then dry the nails.
- Apply cuticle oil to moisturise and condition the skin around the nails.
By following these steps, you'll achieve beautifully sculpted nails with the Nail Mate Core Acrylic Powders, whether using nail tips or forms.
Shipping quick look
Shipping is available worldwide, you can check out your cost quickly by opening the cart and clicking the shipping tab at the bottom of the drawer.



FAQs
Core Acrylic Powder Specifications
Nail Mate core powders are Made in the UK & USA. The acrylic system Is HEMA Free making it great for those with sensitivities.
✅ HEMA Free, Vegan & Cruelty Free
How to use Nail Mate Core Powders
Applying Nail Mate Core Acrylic Powders using nail tips or nail forms involves several steps to ensure a smooth and professional-looking finish. Here's a detailed guide:
Step-by-Step Guide:
Preparation:
1. Clean and Prep Nails:
- Wash your hands thoroughly to remove oils and dirt.
- Gently push back cuticles with a cuticle pusher.
- Buff the natural nail surface lightly to remove shine.
2. Apply Nail Tips (if using):
- Select the correct size nail tip for each nail.
- Apply a small amount of nail glue to the well of the nail tip.
- Press the tip onto the natural nail and hold until secure.
- Trim and shape the tips to the desired length.
Apply Nail Forms (if using):
- Ensure forms fit snugly around the nail edge and secure them in place.
- Adjust the form to ensure it aligns with the natural nail shape.
4. Dehydrate and Prime:
- Apply safe scrub nail dehydrator to remove remaining oils from the nail plate.
- Apply a thin layer of pro bond or ultra primer to enhance acrylic adhesion.
Application:
5. Prepare Acrylic Mixture:
- Pour acrylic liquid into a dappen dish.
- Dip your acrylic brush into the liquid and gently wipe to remove excess.
6. Apply Acrylic to Nails:
- Dip the wet brush into the acrylic powder to form a bead.
- Place the acrylic bead near the designated point on the nail (e.g., the stress area for strength).
- Gently press and pat the acrylic into place, working from the cuticle area to the free edge.
- Use the brush to sculpt the desired nail shape and thickness, ensuring it's evenly distributed.
7. Build the Structure:
- Apply additional beads as necessary to build the desired nail structure.
- Ensure the apex (highest point of the nail) is slightly above the natural nail for strength.
8. Allow to Set:
- Allow the acrylic to dry and harden completely. This may take several minutes depending on the product used and the room temperature.
Finishing:
9. File and Shape:
- Once fully set, use a nail file to perfect the shape and smooth the surface.
- Buff the nails to achieve a smooth finish. You can come in with your gel nail design over the top at this stage if you wanted.
10. Apply Top Coat (Optional):
- Apply a top coat for added shine and protection.
- Cure under the Nail Mate PRO+ LED lamp if using gel top coat.
11. Final Touch:
- Wash your hands thoroughly and then dry the nails.
- Apply cuticle oil to moisturise and condition the skin around the nails.
By following these steps, you'll achieve beautifully sculpted nails with the Nail Mate Core Acrylic Powders, whether using nail tips or forms.
Core Powder MSDS
Download our core powder MSDS for your records
What our customers are saying...


ShelleyMy favourite core colour
This is such a beautiful natural pink core shade and buttery smooth to apply
Katie OdonnellAbsolutely love toasted rose!
Absolutely love toasted rose! By far one of my favourite core colours
KatLove it 😍
So pretty in love ❤️
ChrissyBeautiful 🥰
I wasn’t sure when I ordered this colour how it would actually look in person but I’m so glad I ordered it because it’s such a beautiful milk chocolate brown and goes on so smoothly 😍 1 of my fav’s
T.FGoes on like a dream
Love the colour Goes on like a dream and files well too.
Express yourself with
Instagram #glittertribebabe


