Introduction to Chrome Nail Art
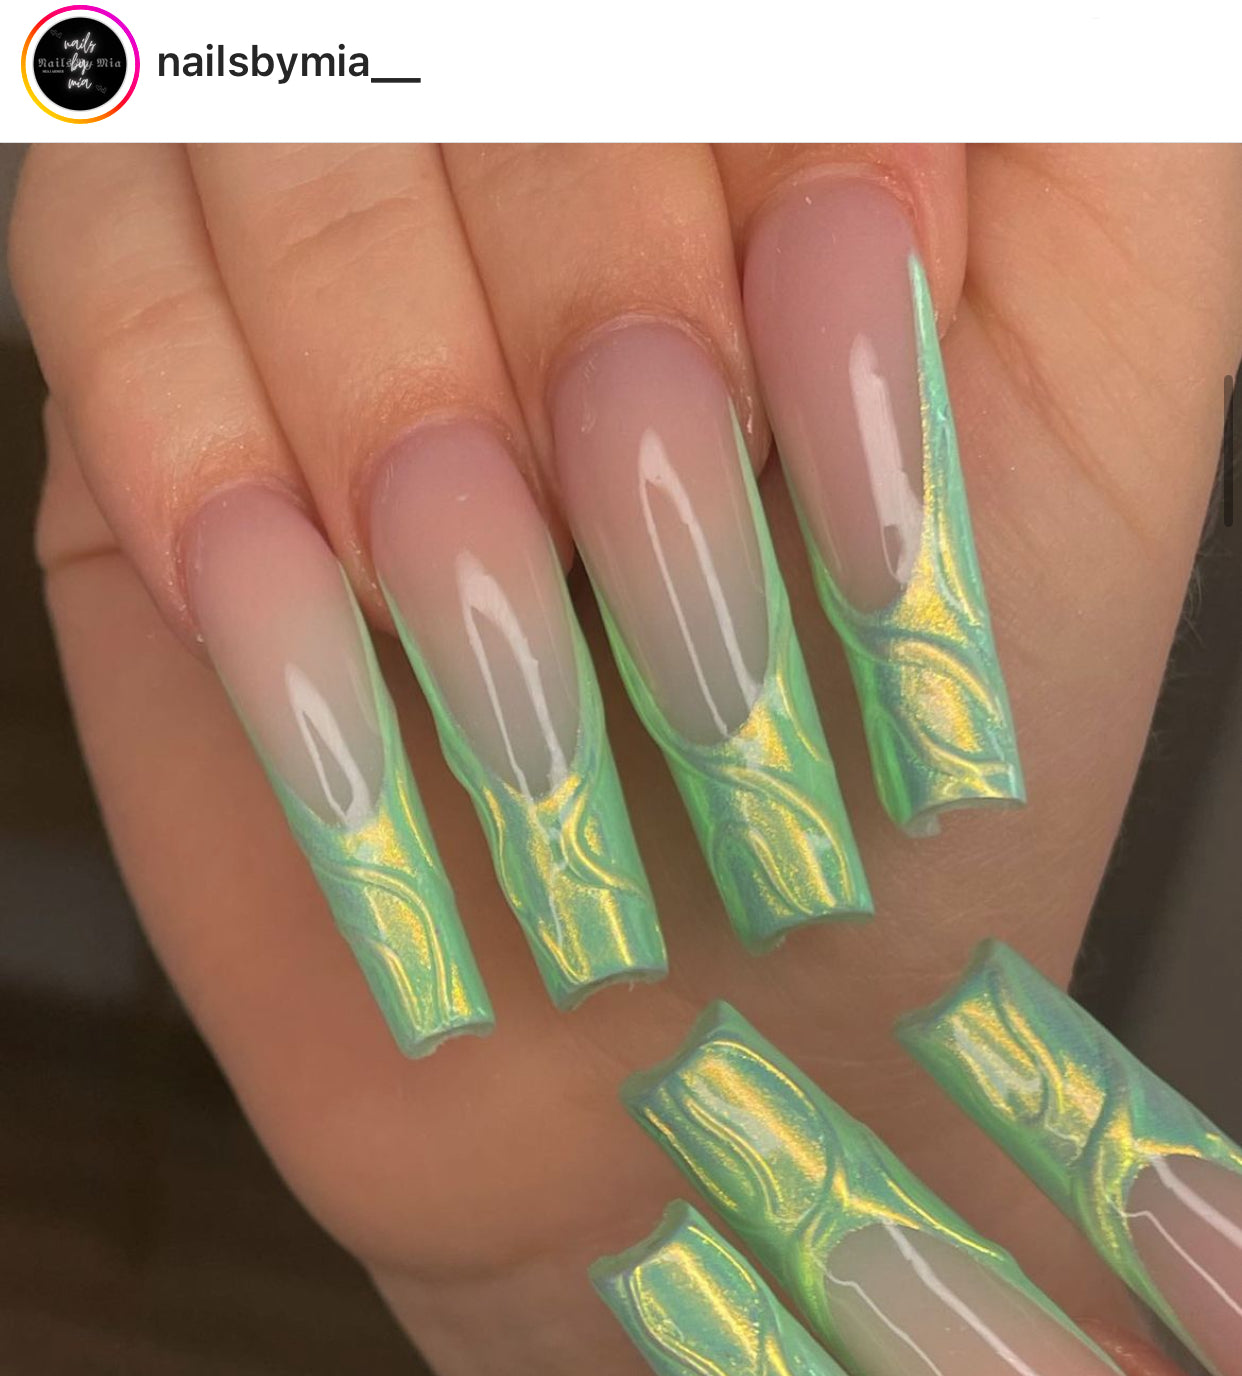
Chrome nail art has been taking the beauty world by storm, and in 2024, it's showing no signs of slowing down. With its futuristic shine and endless colour options, chrome nails are a must-have for anyone looking to elevate their nail game. Whether you're a seasoned salon professional or a beginner home user nail tech, mastering the art of chrome nails is easier than you might think. And we've got top tips to share with you.
Why mastering chrome nail art matters:
Stay on trend and create your own chrome nail art designs
Offer top quality trending chrome nail art in your salon
-
The more nail art techniques you can master the better. And chrome nail art is like magic ✨
Want to shop chrome? Visit our store
Chrome Powders vs. Chrome Gel Paints
- Chrome gel paints are a great product
- Chrome powders offer more versatility
When it comes to achieving stunning chrome nail art, there are two main techniques: using chrome powders and using chrome gel paints. Both methods offer their own unique benefits, so let's break down each option:

CHROME POWDERS:
This method involves applying a base colour, curing it, and then buffing in chrome powder into no wipe top gel using a sponge or silicone applicator. The result is a mirror-like finish that catches the light and adds instant glam to any manicure. Chrome powders come in a wide range of colours, from classic silver to bold metallics and even holographic and colour shifting shades. So you can create chrome nail art with ease.
CHROME GEL PAINTS:
Gel paints offer a faster approach to chrome nail art. With chrome gel paints, you can create intricate designs with ease and achieve a high-shine finish with no extra steps. To create chrome nail art with gel paints, simply apply a base colour or design, cure it, and then paint on your chosen gel paint using a fine nail art brush or dotting tool. Finish with a topcoat for added durability and shine.
Must Have Products For Beginners to Chrome Nail Art
Tips for Applying Chrome Powders over gel polish
- Prep the nails properly by pushing back the cuticles and removing any excess oils.
- Apply a thin layer of gel base coat and cure it under a UV or LED lamp for 60 seconds.
- Apply a base colour of choice and cure for 60 seconds
- Apply super gloss no shine gel topcoat and cure for 40-60seconds
- Use a silicone tool or sponge applicator to gently buff the chrome powder onto the nails in a smooth, even motion.
- Seal the chrome powder with super gloss gel topcoat and cure it for a lasting finish.
- For added dimension, experiment with layering different chrome powders or painting chrome nail art designs with a no wipe gel paint like this one.

Must have Chrome Powders to start off with

chrome nail art continues to be a hot trend in 2024, and mastering the techniques for applying chrome powders and gel paints can help salon professionals and beginner nail techs stay ahead of the curve. With the right tools, techniques, and care tips, anyone can achieve stunning chrome nails that are sure to turn heads.
If you want to buy chrome powders or chrome gel paint for pros & beginners, you can check out more on our store
Frequently Asked Questions
How Long should I cure my gel before applying chrome?
You should cure for 40-60 seconds if you want mirror finish smooth come.
Why is my chrome nail art chipping?
You may. not have applied the base layers correctly. Top tip, don't cap the free edge until last. And for extra staying power seal in with BUILD+ Rubber gel first and then top coat.

