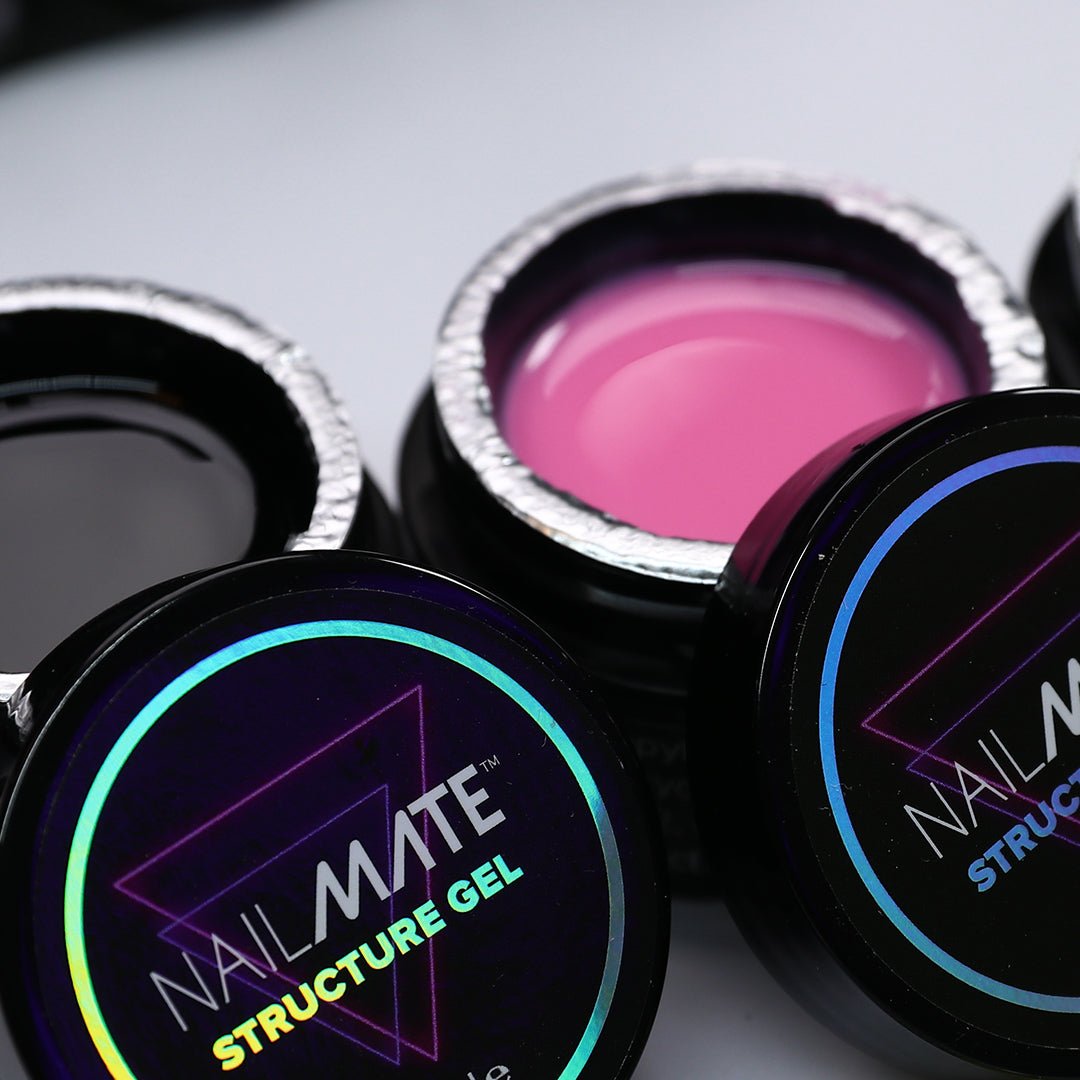
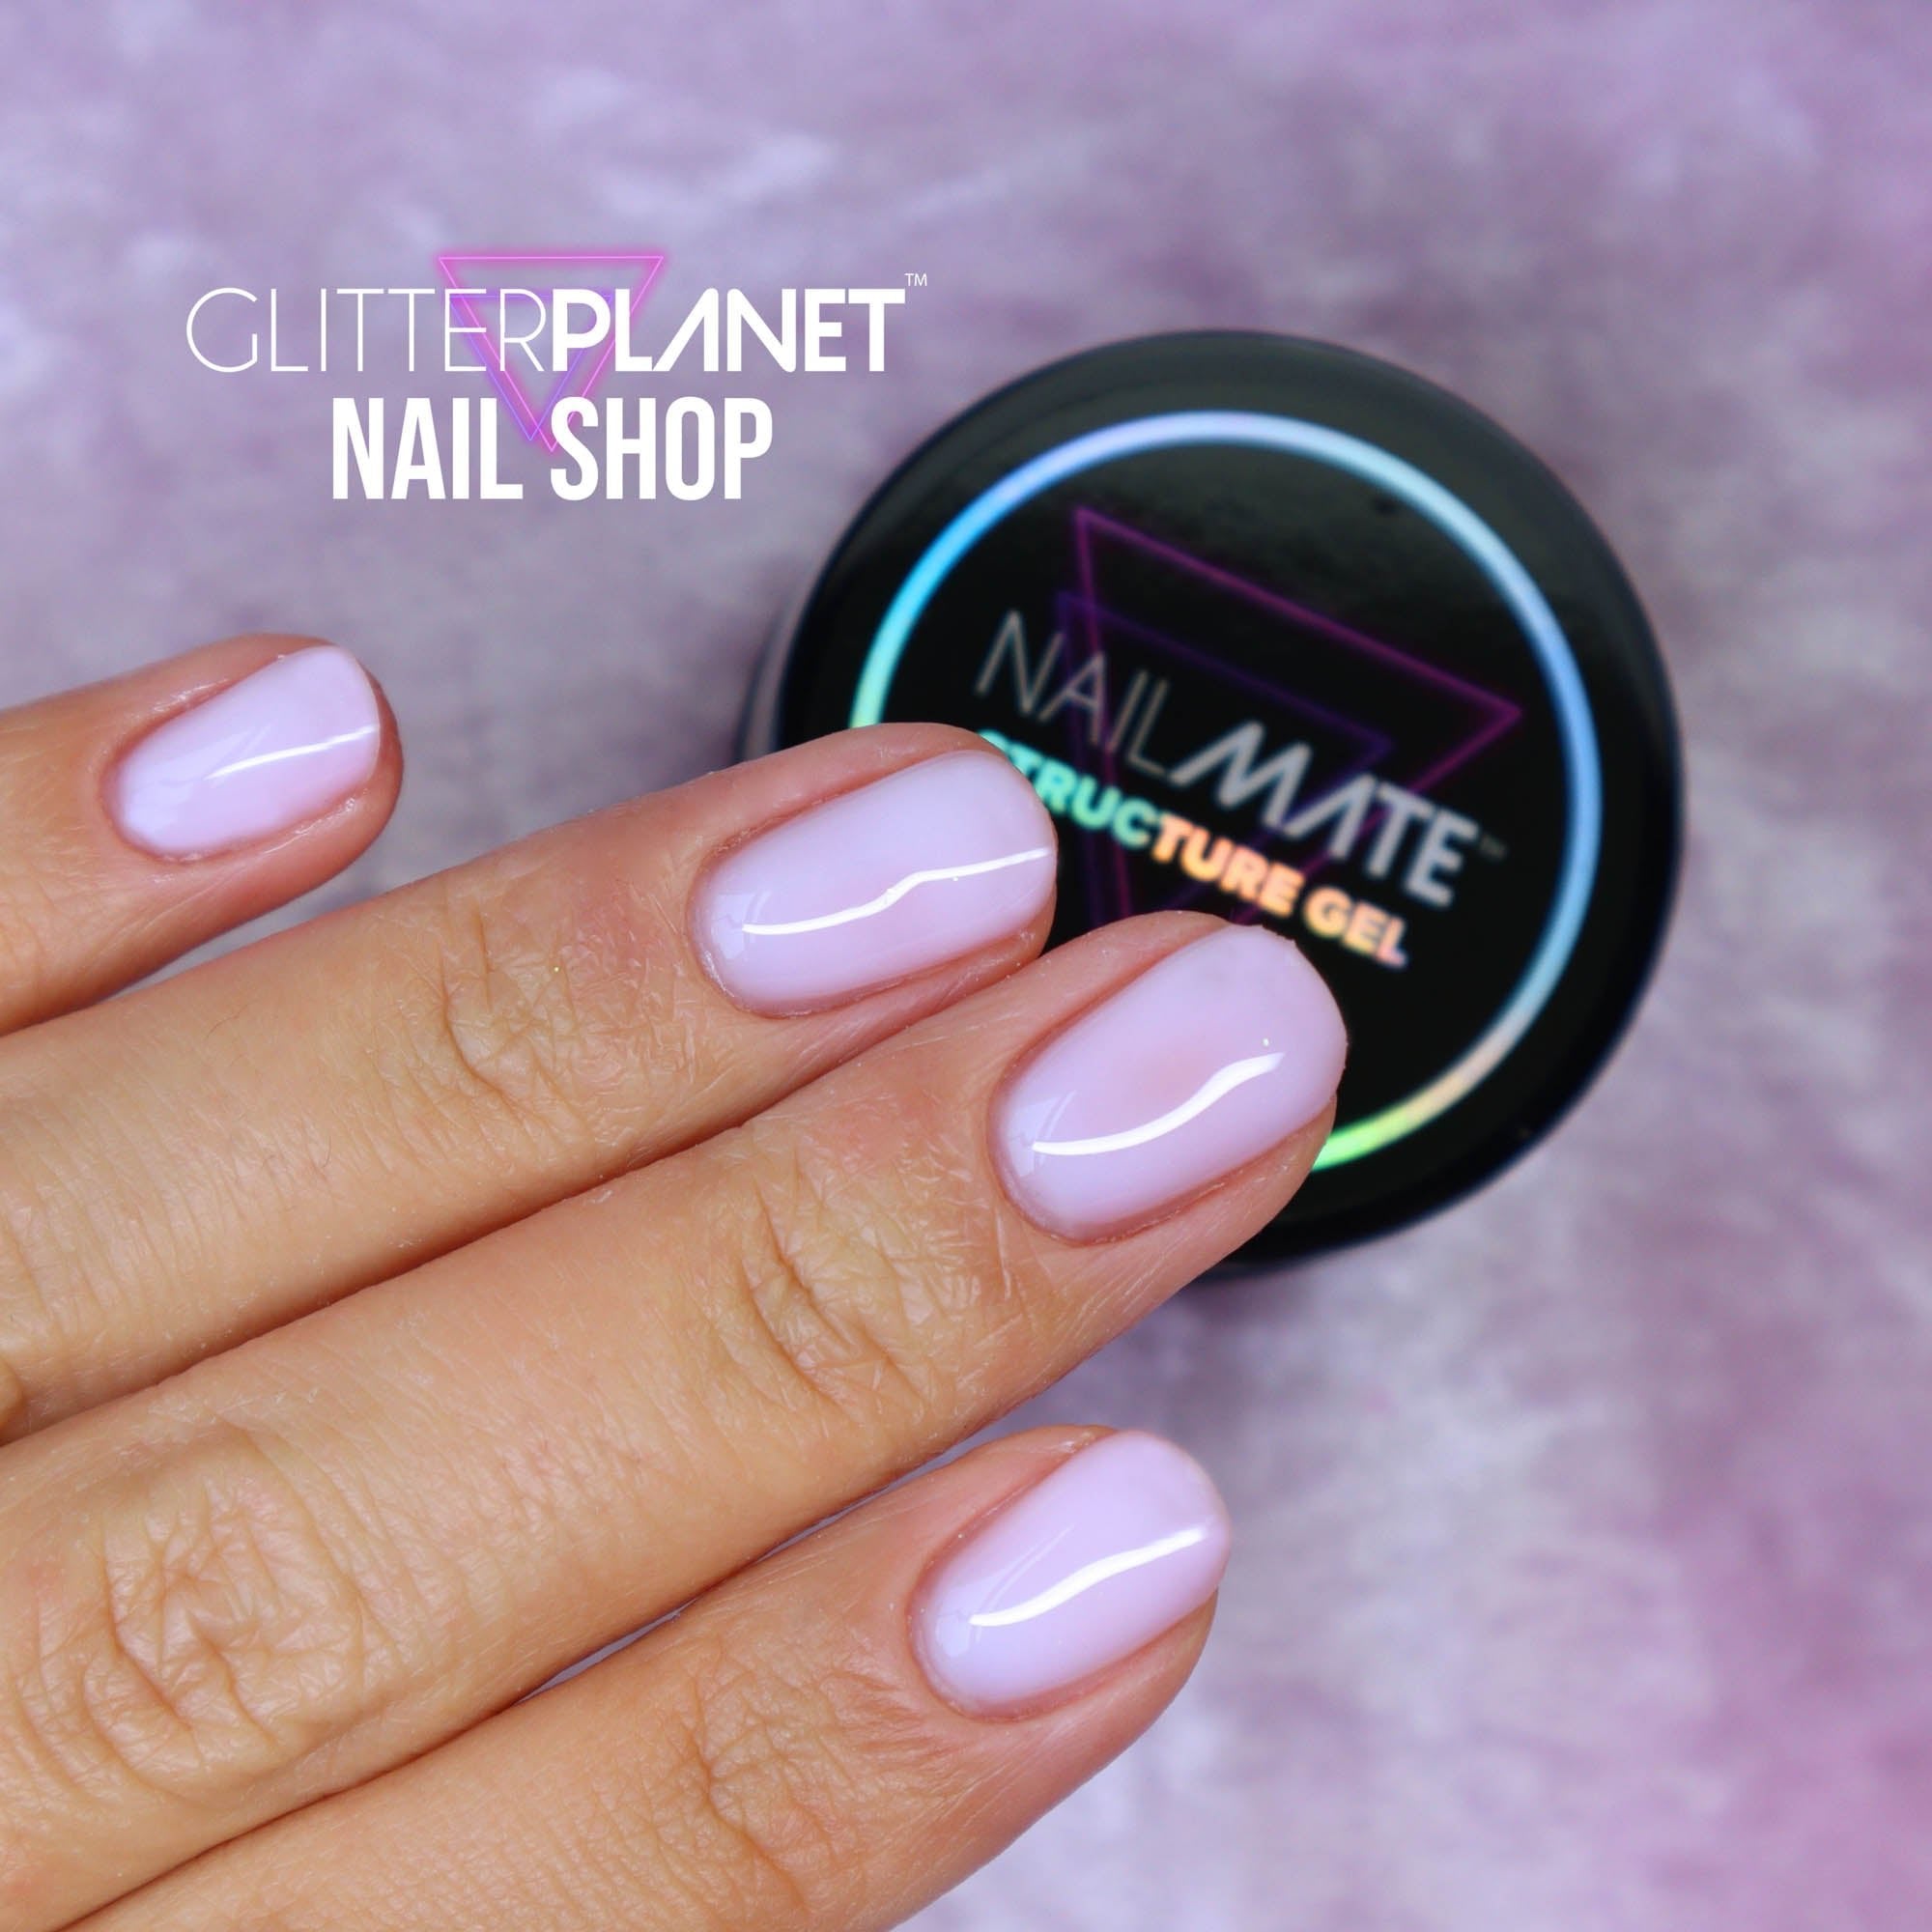
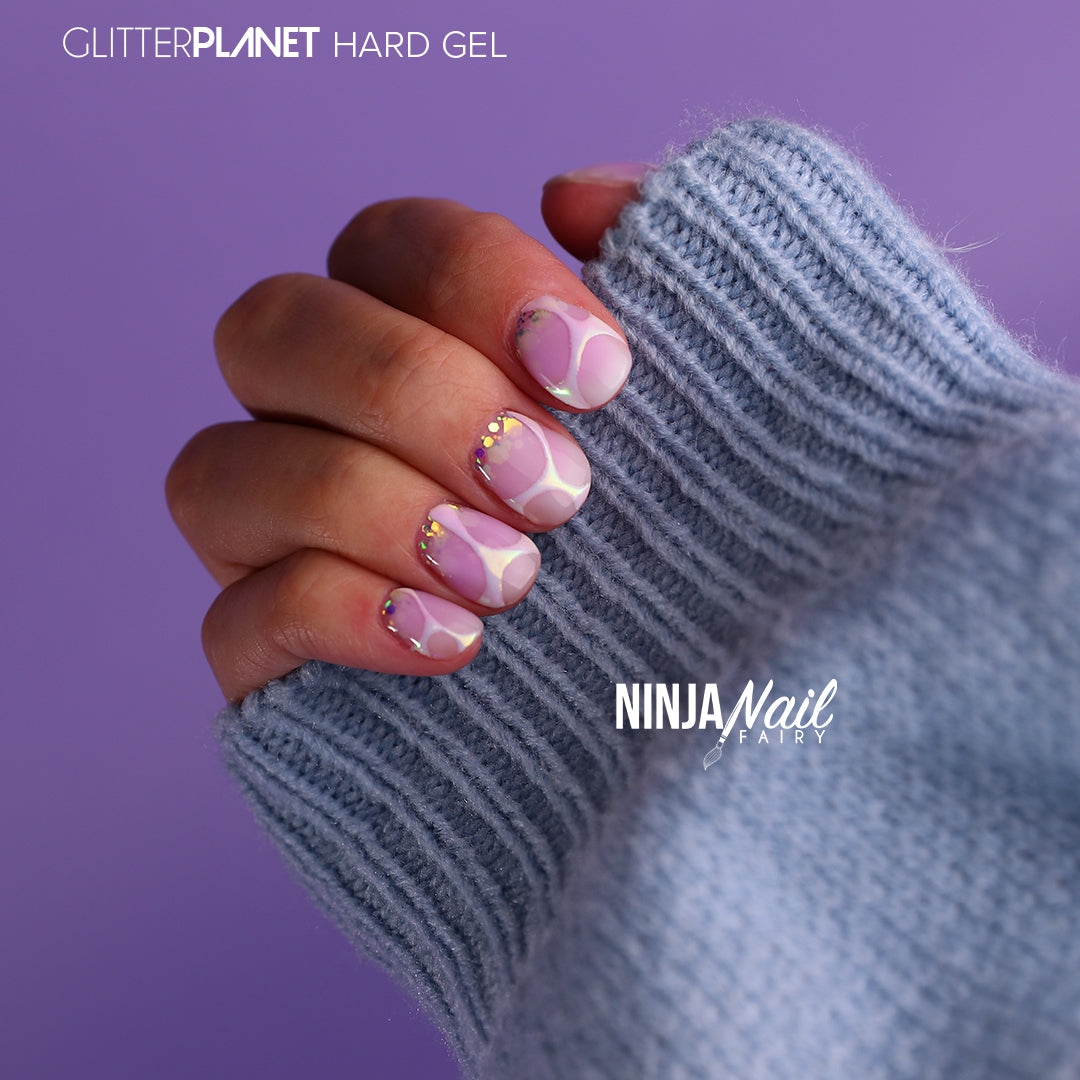
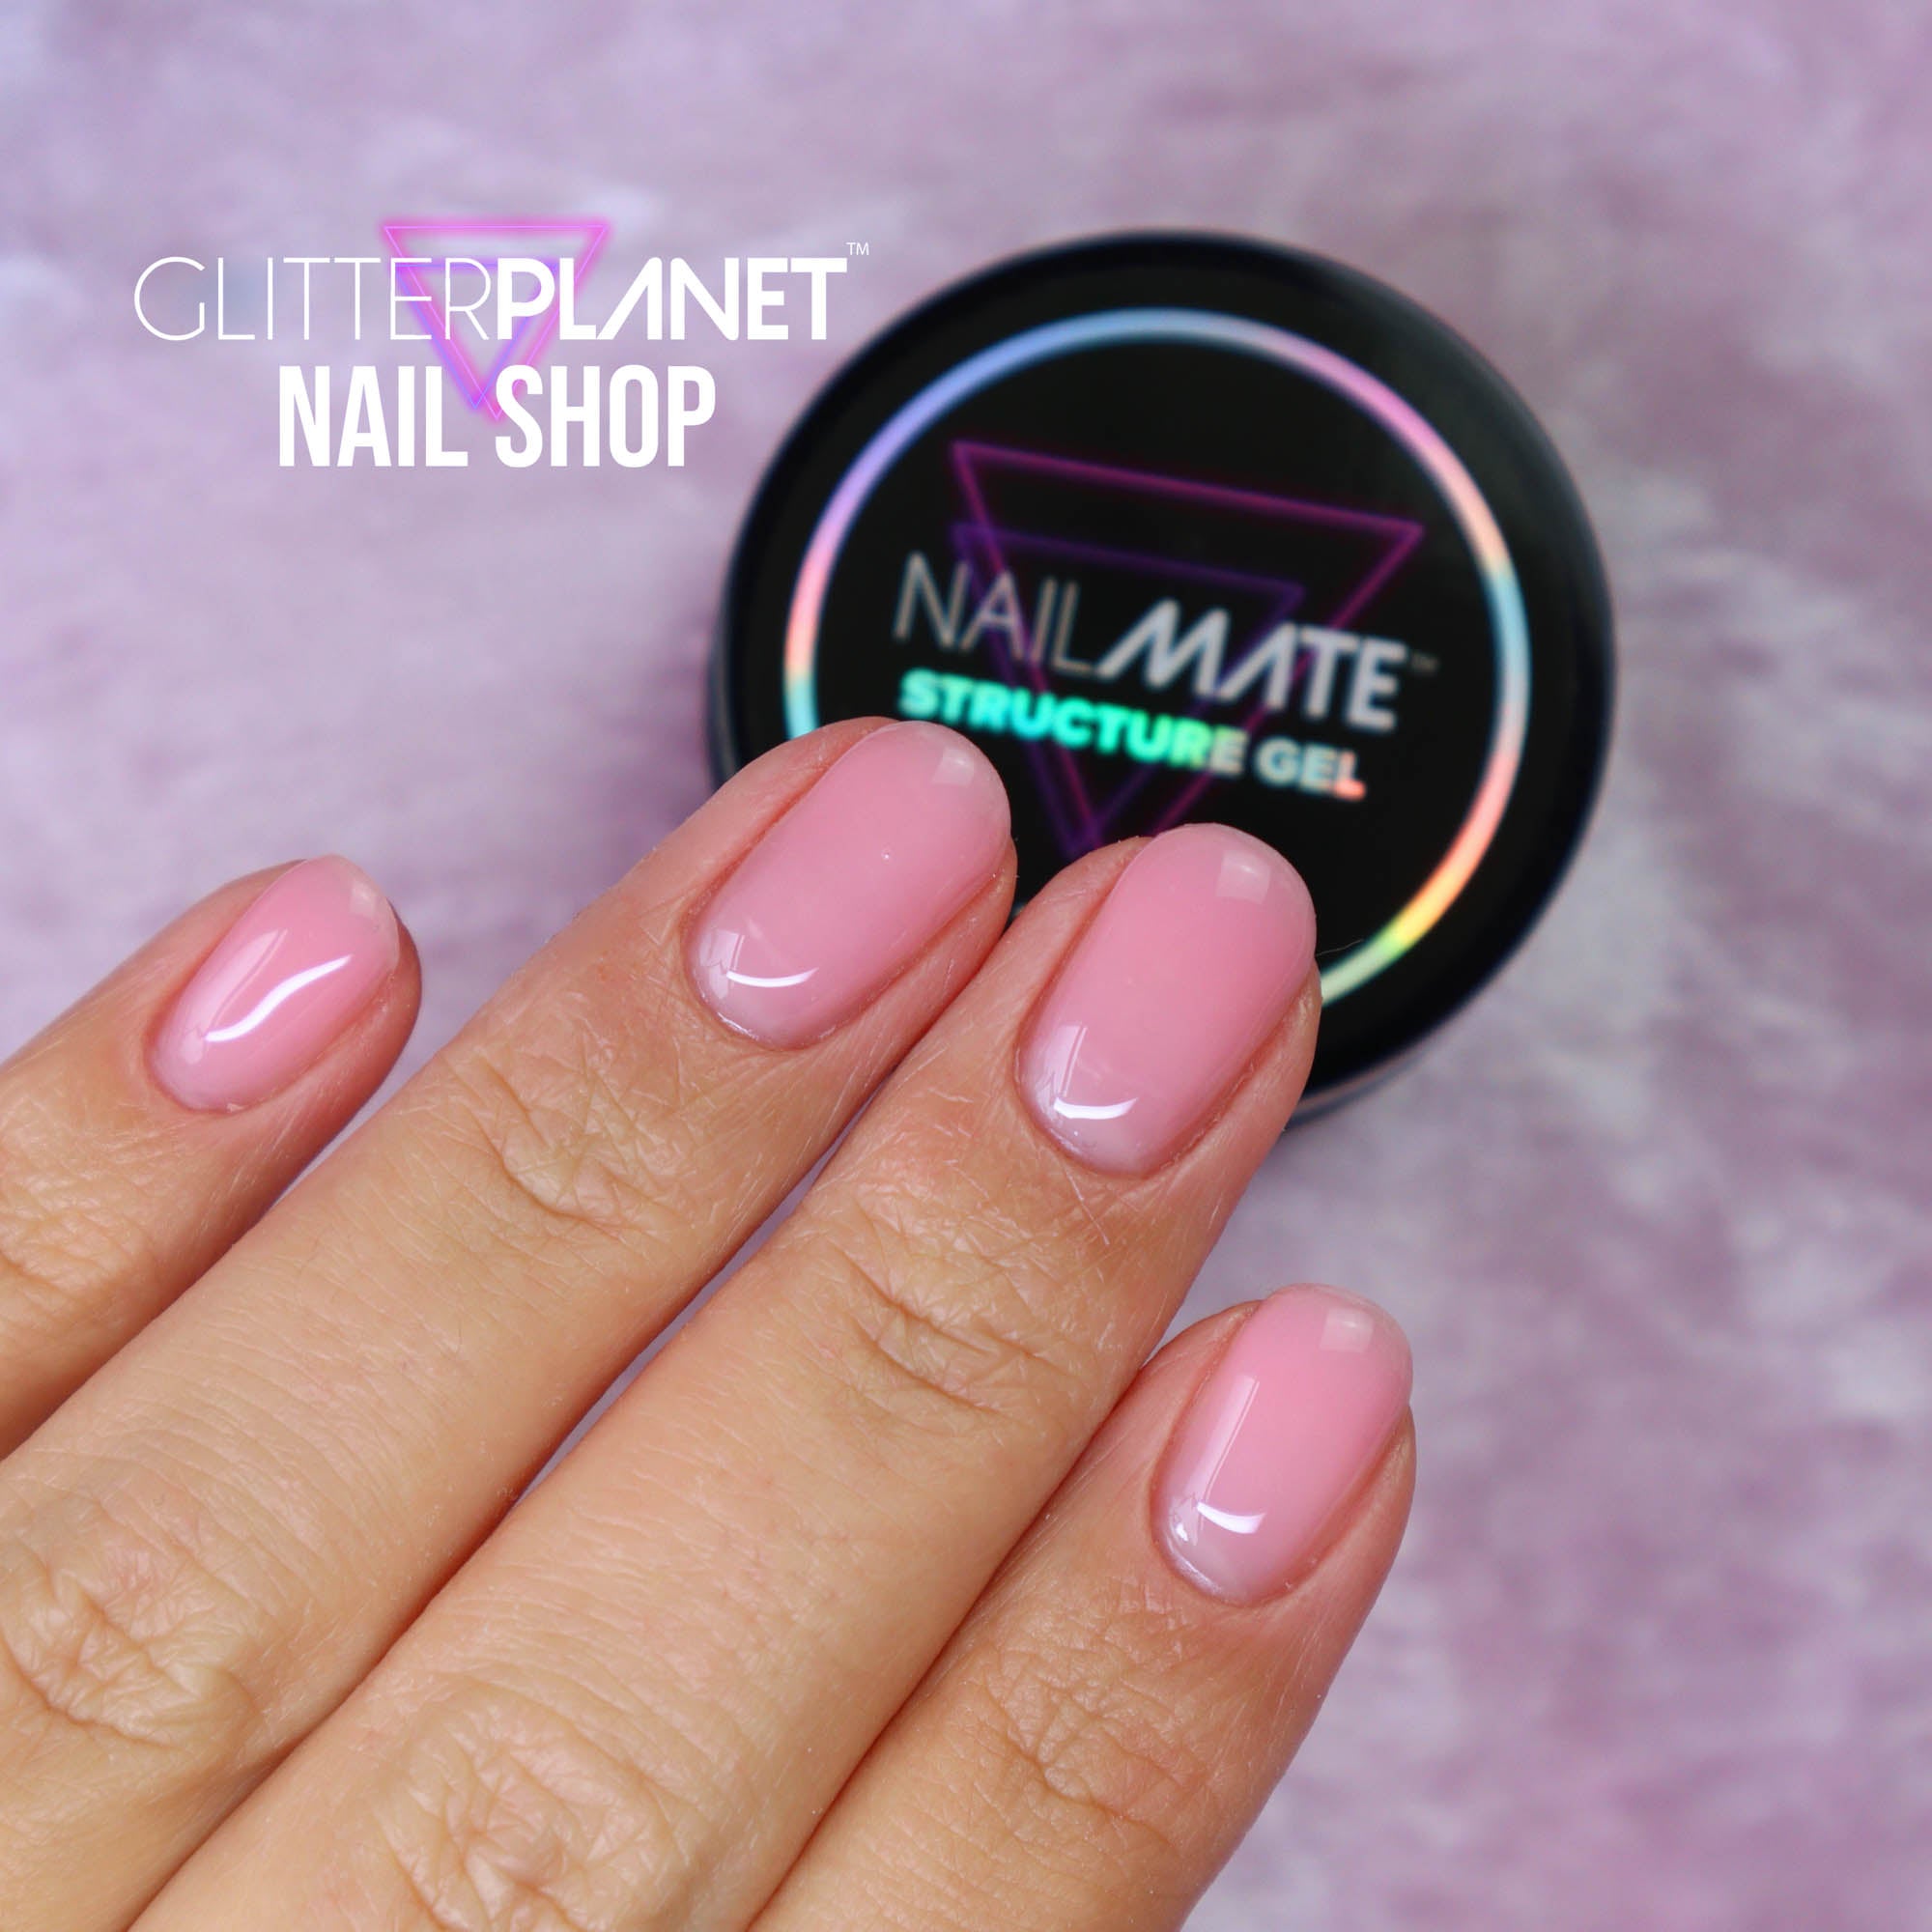
Barely There Structure Gel
- Regular price
-
$20.42 - Regular price
-
- Sale price
-
$20.42
Couldn't load pickup availability


Applying hard gel to nails can create a strong, durable base for beautiful manicures and nail art. Here's a step-by-step guide for using Nail Mates self-leveling Structure gel, a low viscosity builder gel that requires a base coat:
Step-by-Step Guide to Applying Hard Builder Gel:
1. Preparation:
- Clean Your Hands: Start by washing your hands thoroughly to remove any dirt or oils. Don't use any soaps that contain moisturising properties.
- Trim and Shape Nails: Trim your natural nails to your desired length and shape them using a file. Create the shape that will complement the gel extension. You can add your nail tip or nail form to extend the nails later if needed.
- Push Back Cuticles: Gently push back cuticles with a cuticle pusher to expose the entire nail bed. and use cuticle nippers to remove any excess cuticle.
- Buff the Nails: Lightly buff the surface of each nail to remove shine and create a rough texture for better Structure gel adhesion.
- Clean the Nails: Use the Nail Mate Safe Scrub nail cleanser or isopropyl alcohol on a lint-free wipe to remove any dust and oils from the nail surface.
2. Apply Base Coat:
- Base Coat Application: Apply a thin layer of a compatible base coat to each nail we have 3 options available BUILD+ Clear Rubber base, 2 in 1 HEMA free rubber base or our original gel base.
- Cure the Base Coat: Place your nails under the Nail Mate PRO+ LED lamp for 60 seconds.
3. Applying Hard Builder Gel:
- Get the Builder Gel Ready: Open the jar of hard builder gel and have a gel brush ready. Don't leave close the the lamp or near any sunlight.
- Apply the Builder Gel: Dip your brush into the gel and pick up a small bead. Place the bead near the center of your nail, away from the cuticle and the edges.
- Spread the Gel: Allow the gel to self-level, using the brush to gently guide it towards the edges of the nail without touching the skin.
- Check the Arch and Thickness: Build the desired structure by adding more gel if needed to create an apex (high point of the nail). You can do this in layers to avoid getting a heat spike, making sure to cure between each layer.
4. Cure the Builder Structure Gel:
- First Cure: Cure your nails under the Nail Mate PRO+ LED lamp for 90s low cure to avoid heat spike.
- Adding More Gel (Optional): If a thicker layer is needed for extra strength, apply additional layers, curing each layer separately.
5. Finishing Touches:
- Remove Sticky Layer: Once fully cured, use a lint-free wipe and safe scrub nail cleanser to remove the sticky inhibition layer from the gel.
- File and Shape: Use a nail file to refine the shape and smooth out high spots. Buff the surface lightly if needed.
- Apply design & Top Coat: Apply your design as desired and a top coat to add shine and protect the gel. Cure as per the top coat's curing instructions, in this case 60seconds.
- Final Cure and Cleanse: Cure under the lamp and perform a final cleanse to remove any remaining sticky residue if your top coat cures with one.
6. Moisturise:
- Cuticle Oil: Finish by washing your hands thoroughly to remove any products from your skin. Then continue applying cuticle oil around each nail and massage gently for hydration and nourishment. Shop our hand made cuticle oils here.
And there you have it! Beautiful, durable nails with the perfect application of hard builder gel.
Did you know: Glitter Planet & Nail Mate products are 100% free from HEMA, TPO, and the 15 most common allergen-causing ingredients, making our gel safer for sensitive clients and the professionals that apply them. (*Sale Gel Items may still contain these ingredients)
How to apply Nail Mate Hard gel to nails
Applying hard gel to nails can create a strong, durable base for beautiful manicures and nail art.
Here's a step-by-step guide for using Nail Mates self-leveling Structure gel, a low viscosity builder gel that requires a base coat:
STEP-BY-STEP GUIDE TO APPLYING HARD BUILDER GEL:
1. Preparation:
- Clean Your Hands: Start by washing your hands thoroughly to remove any dirt or oils. Don't use any soaps that contain moisturising properties.
- Trim and Shape Nails: Trim your natural nails to your desired length and shape them using a file. Create the shape that will complement the gel extension. You can add your nail tip or nail form to extend the nails later if needed.
- Push Back Cuticles: Gently push back cuticles with a cuticle pusher to expose the entire nail bed. and use cuticle nippers to remove any excess cuticle.
- Buff the Nails: Lightly buff the surface of each nail to remove shine and create a rough texture for better Structure gel adhesion.
- Clean the Nails: Use the Nail Mate Safe Scrub nail cleanser or isopropyl alcohol on a lint-free wipe to remove any dust and oils from the nail surface.
2. Apply Base Coat:
- Base Coat Application: Apply a thin layer of a compatible base coat to each nail we have 3 options available BUILD+ Clear Rubber base, 2 in 1 HEMA free rubber base or ouroriginal gel base.
- Cure the Base Coat: Place your nails under the Nail Mate PRO+ LED lamp for 60 seconds.
3. Applying Hard Builder Gel:
- Get the Builder Gel Ready: Open the jar of hard builder gel and have a gel brush ready. Don't leave close the the lamp or near any sunlight.
- Apply the Builder Gel: Dip your brush into the gel and pick up a small bead. Place the bead near the center of your nail, away from the cuticle and the edges.
- Spread the Gel: Allow the gel to self-level, using the brush to gently guide it towards the edges of the nail without touching the skin.
- Check the Arch and Thickness: Build the desired structure by adding more gel if needed to create an apex (high point of the nail). You can do this in layers to avoid getting a heat spike, making sure to cure between each layer.
4. Cure the Builder Structure Gel:
- First Cure: Cure your nails under the Nail Mate PRO+ LED lampfor 90s low cure to avoid heat spike.
- Adding More Gel (Optional): If a thicker layer is needed for extra strength, apply additional layers, curing each layer separately.
5. Finishing Touches:
- Remove Sticky Layer: Once fully cured, use a lint-free wipe and safe scrub nail cleanser to remove the sticky inhibition layer from the gel.
- File and Shape: Use a nail file to refine the shape and smooth out high spots. Buff the surface lightly if needed.
- Apply design & Top Coat: Apply your design as desired and a top coat to add shine and protect the gel. Cure as per the top coat's curing instructions, in this case 60seconds.
- Final Cure and Cleanse: Cure under the lamp and perform a final cleanse to remove any remaining sticky residue if your top coat cures with one.
6. Moisturise:
- Cuticle Oil: Finish by washing your hands thoroughly to remove any products from your skin. Then continue applying cuticle oil around each nail and massage gently for hydration and nourishment. Shop our hand made cuticle oils here.
And there you have it! Beautiful, durable nails with the perfect application of hard builder gel.
Shipping quick look
Shipping is available worldwide, you can check out your cost quickly by opening the cart and clicking the shipping tab at the bottom of the drawer.
FAQs
What is Nail Mate structure gel?
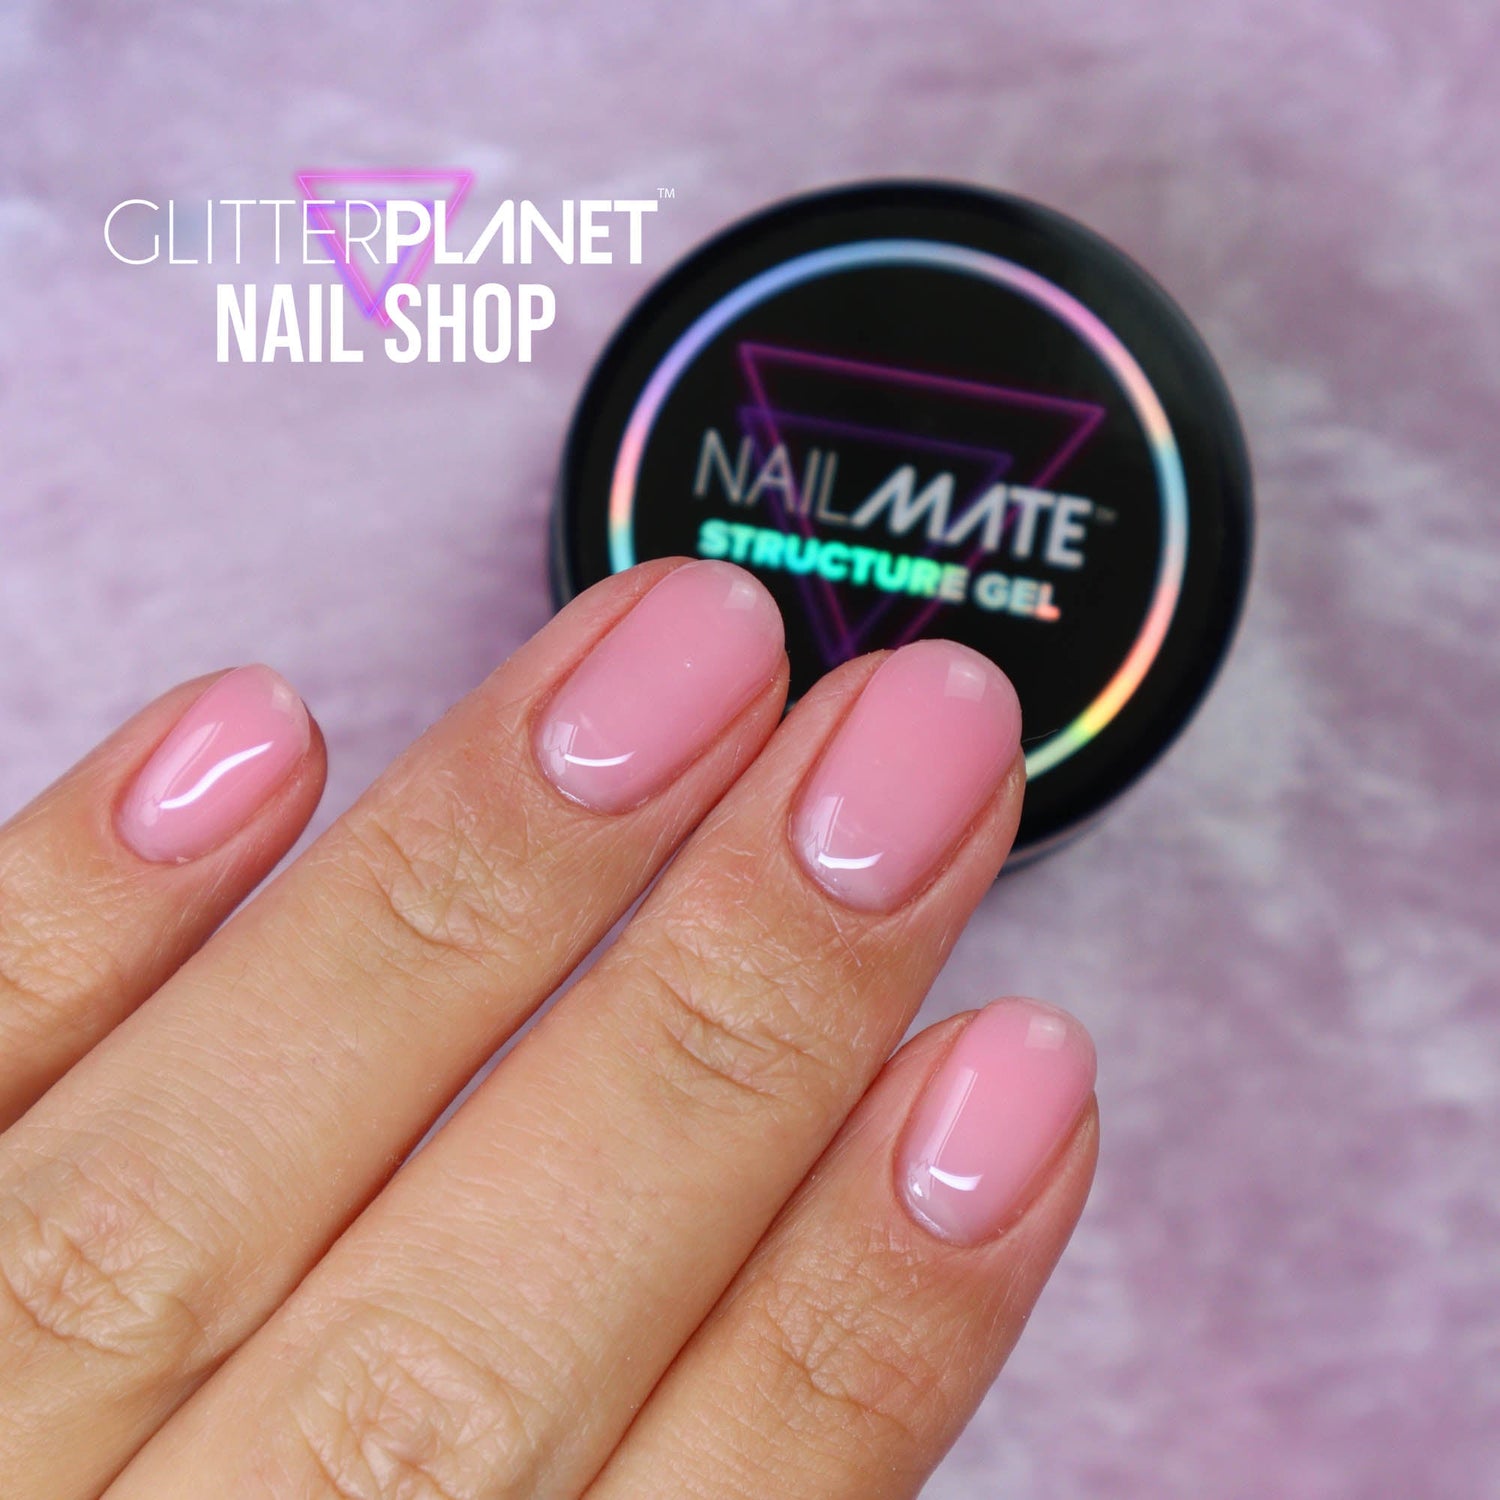
Nail Mate 𝗦𝗧𝗥𝗨𝗖𝗧𝗨𝗥𝗘 𝗚𝗘𝗟 is a low viscosity self-levelling hard builder gel. It is HEMA FREE, Vegan & Cruelty Free.
What is structure gel used for?
- As a strengthening base under your gel polishes + designs
- Extend with length on forms or nail tops to create length. And to repair broken nails.
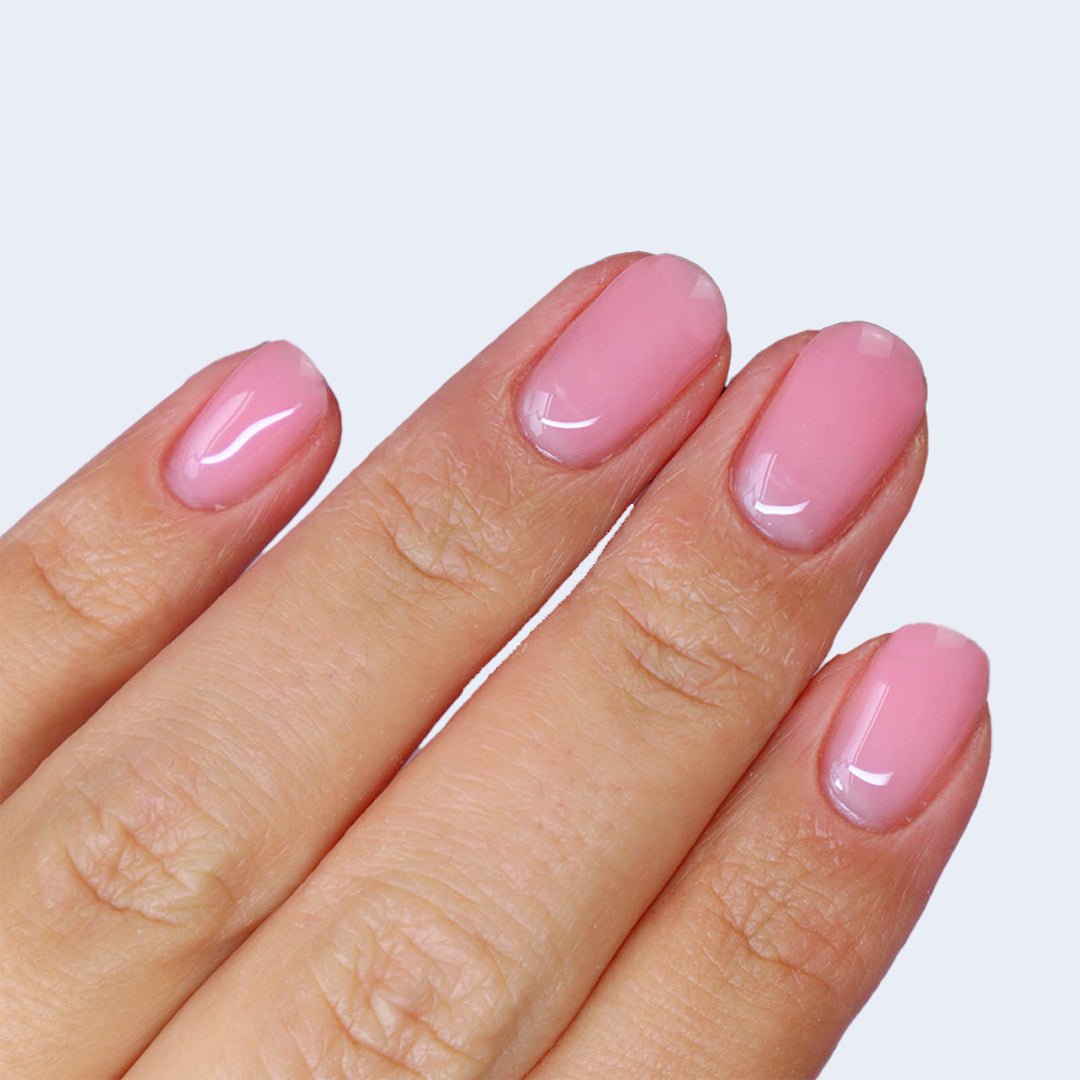
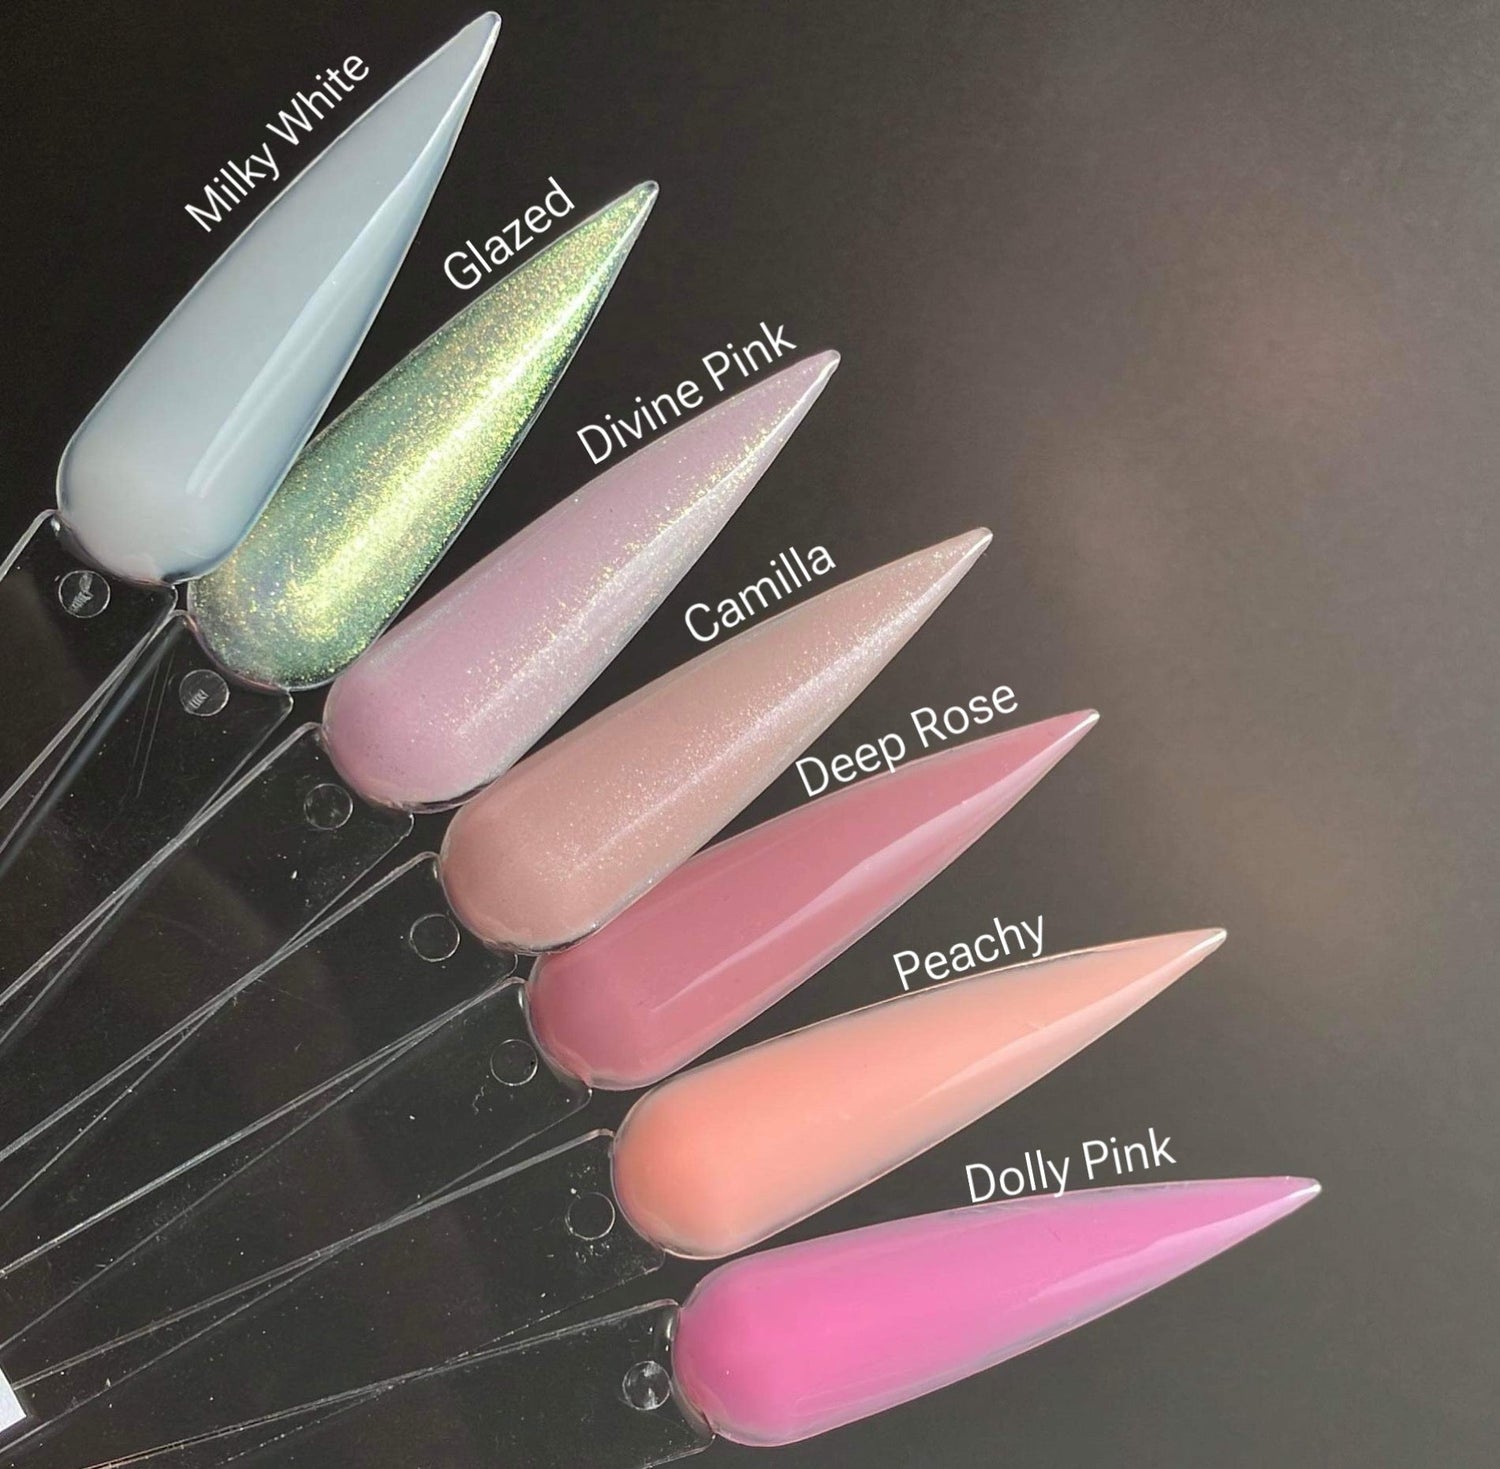
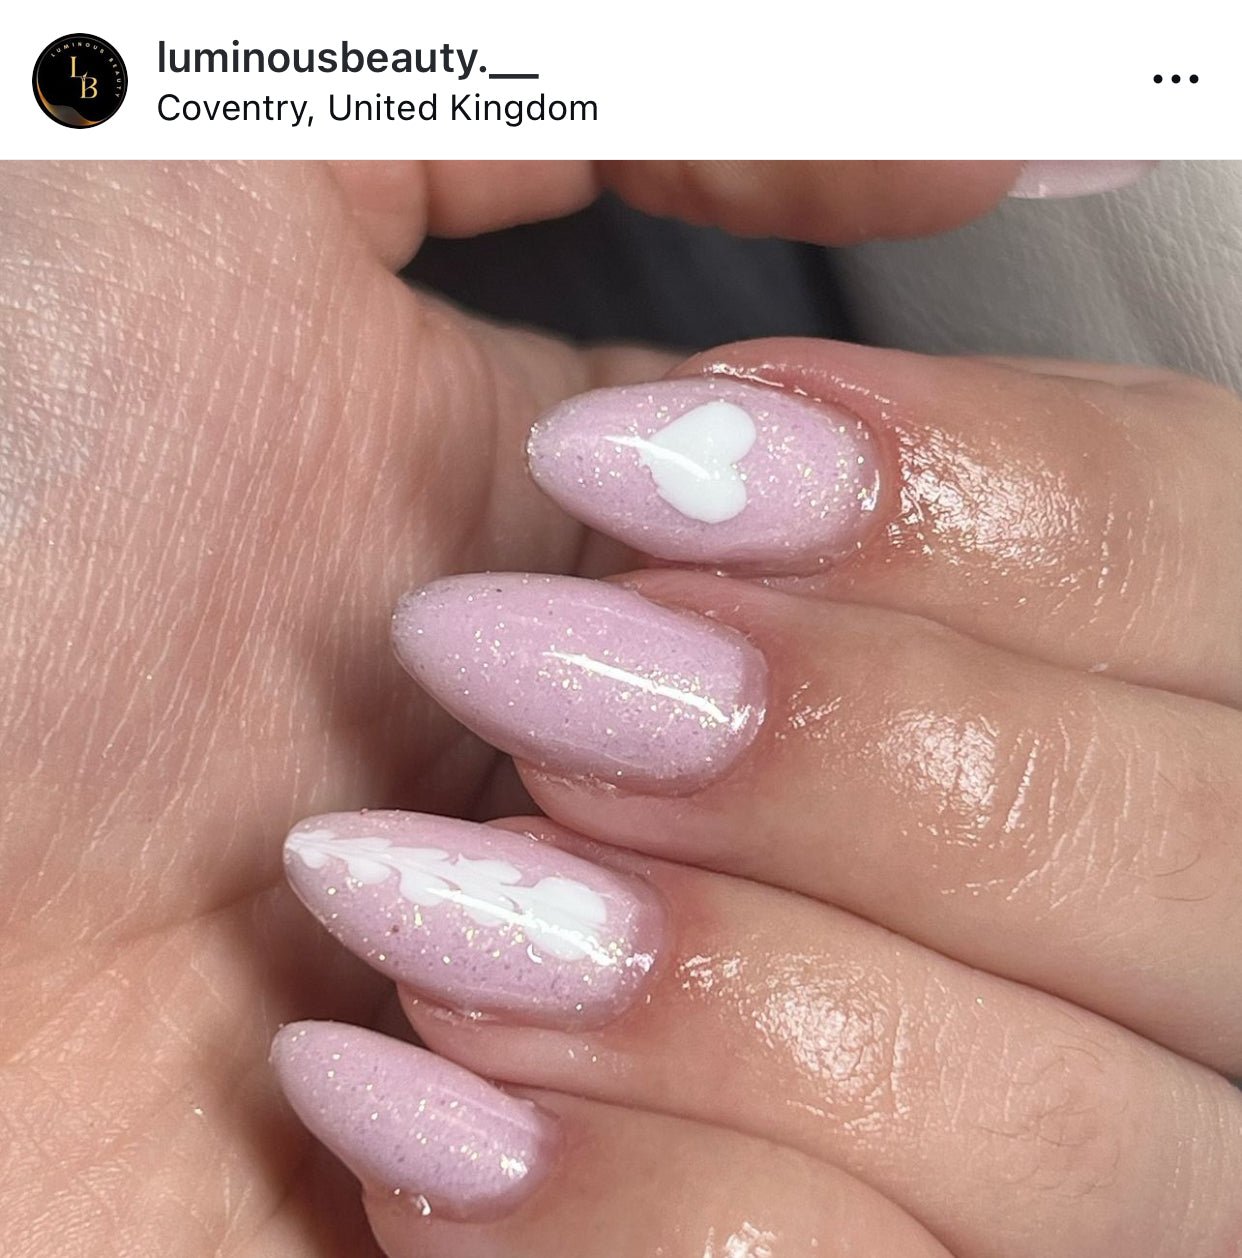
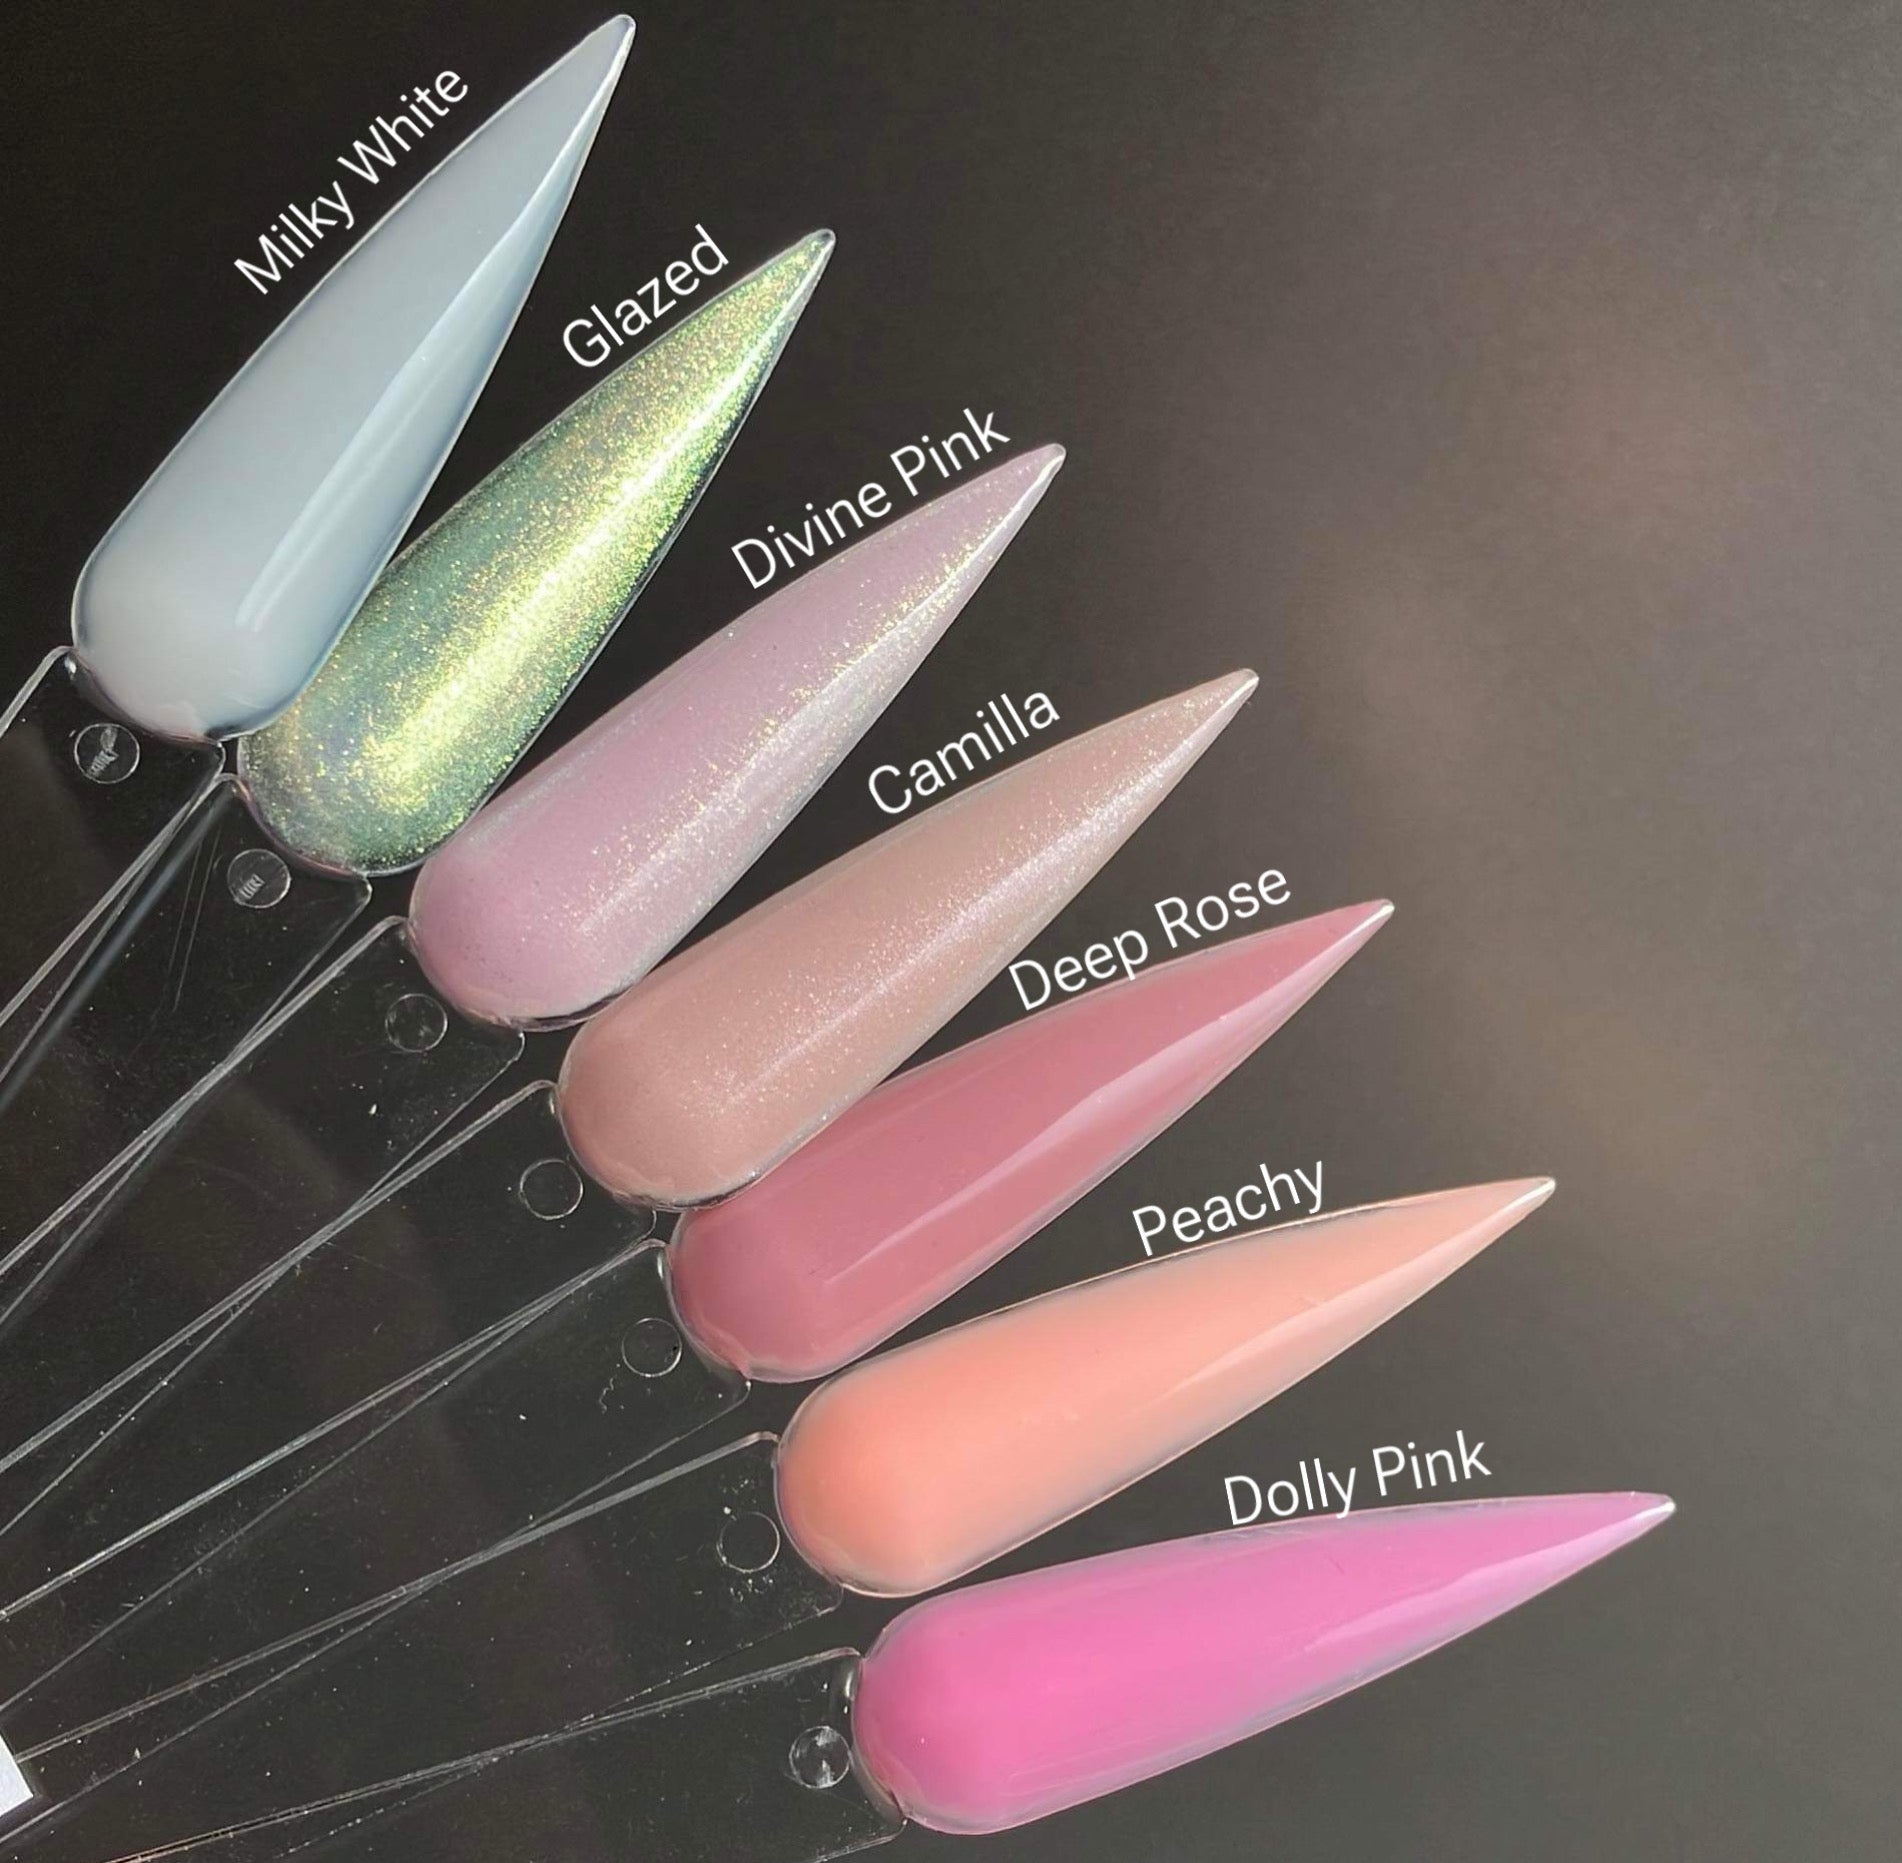
- A wide range of glossy nudes, pinks and sheer shades
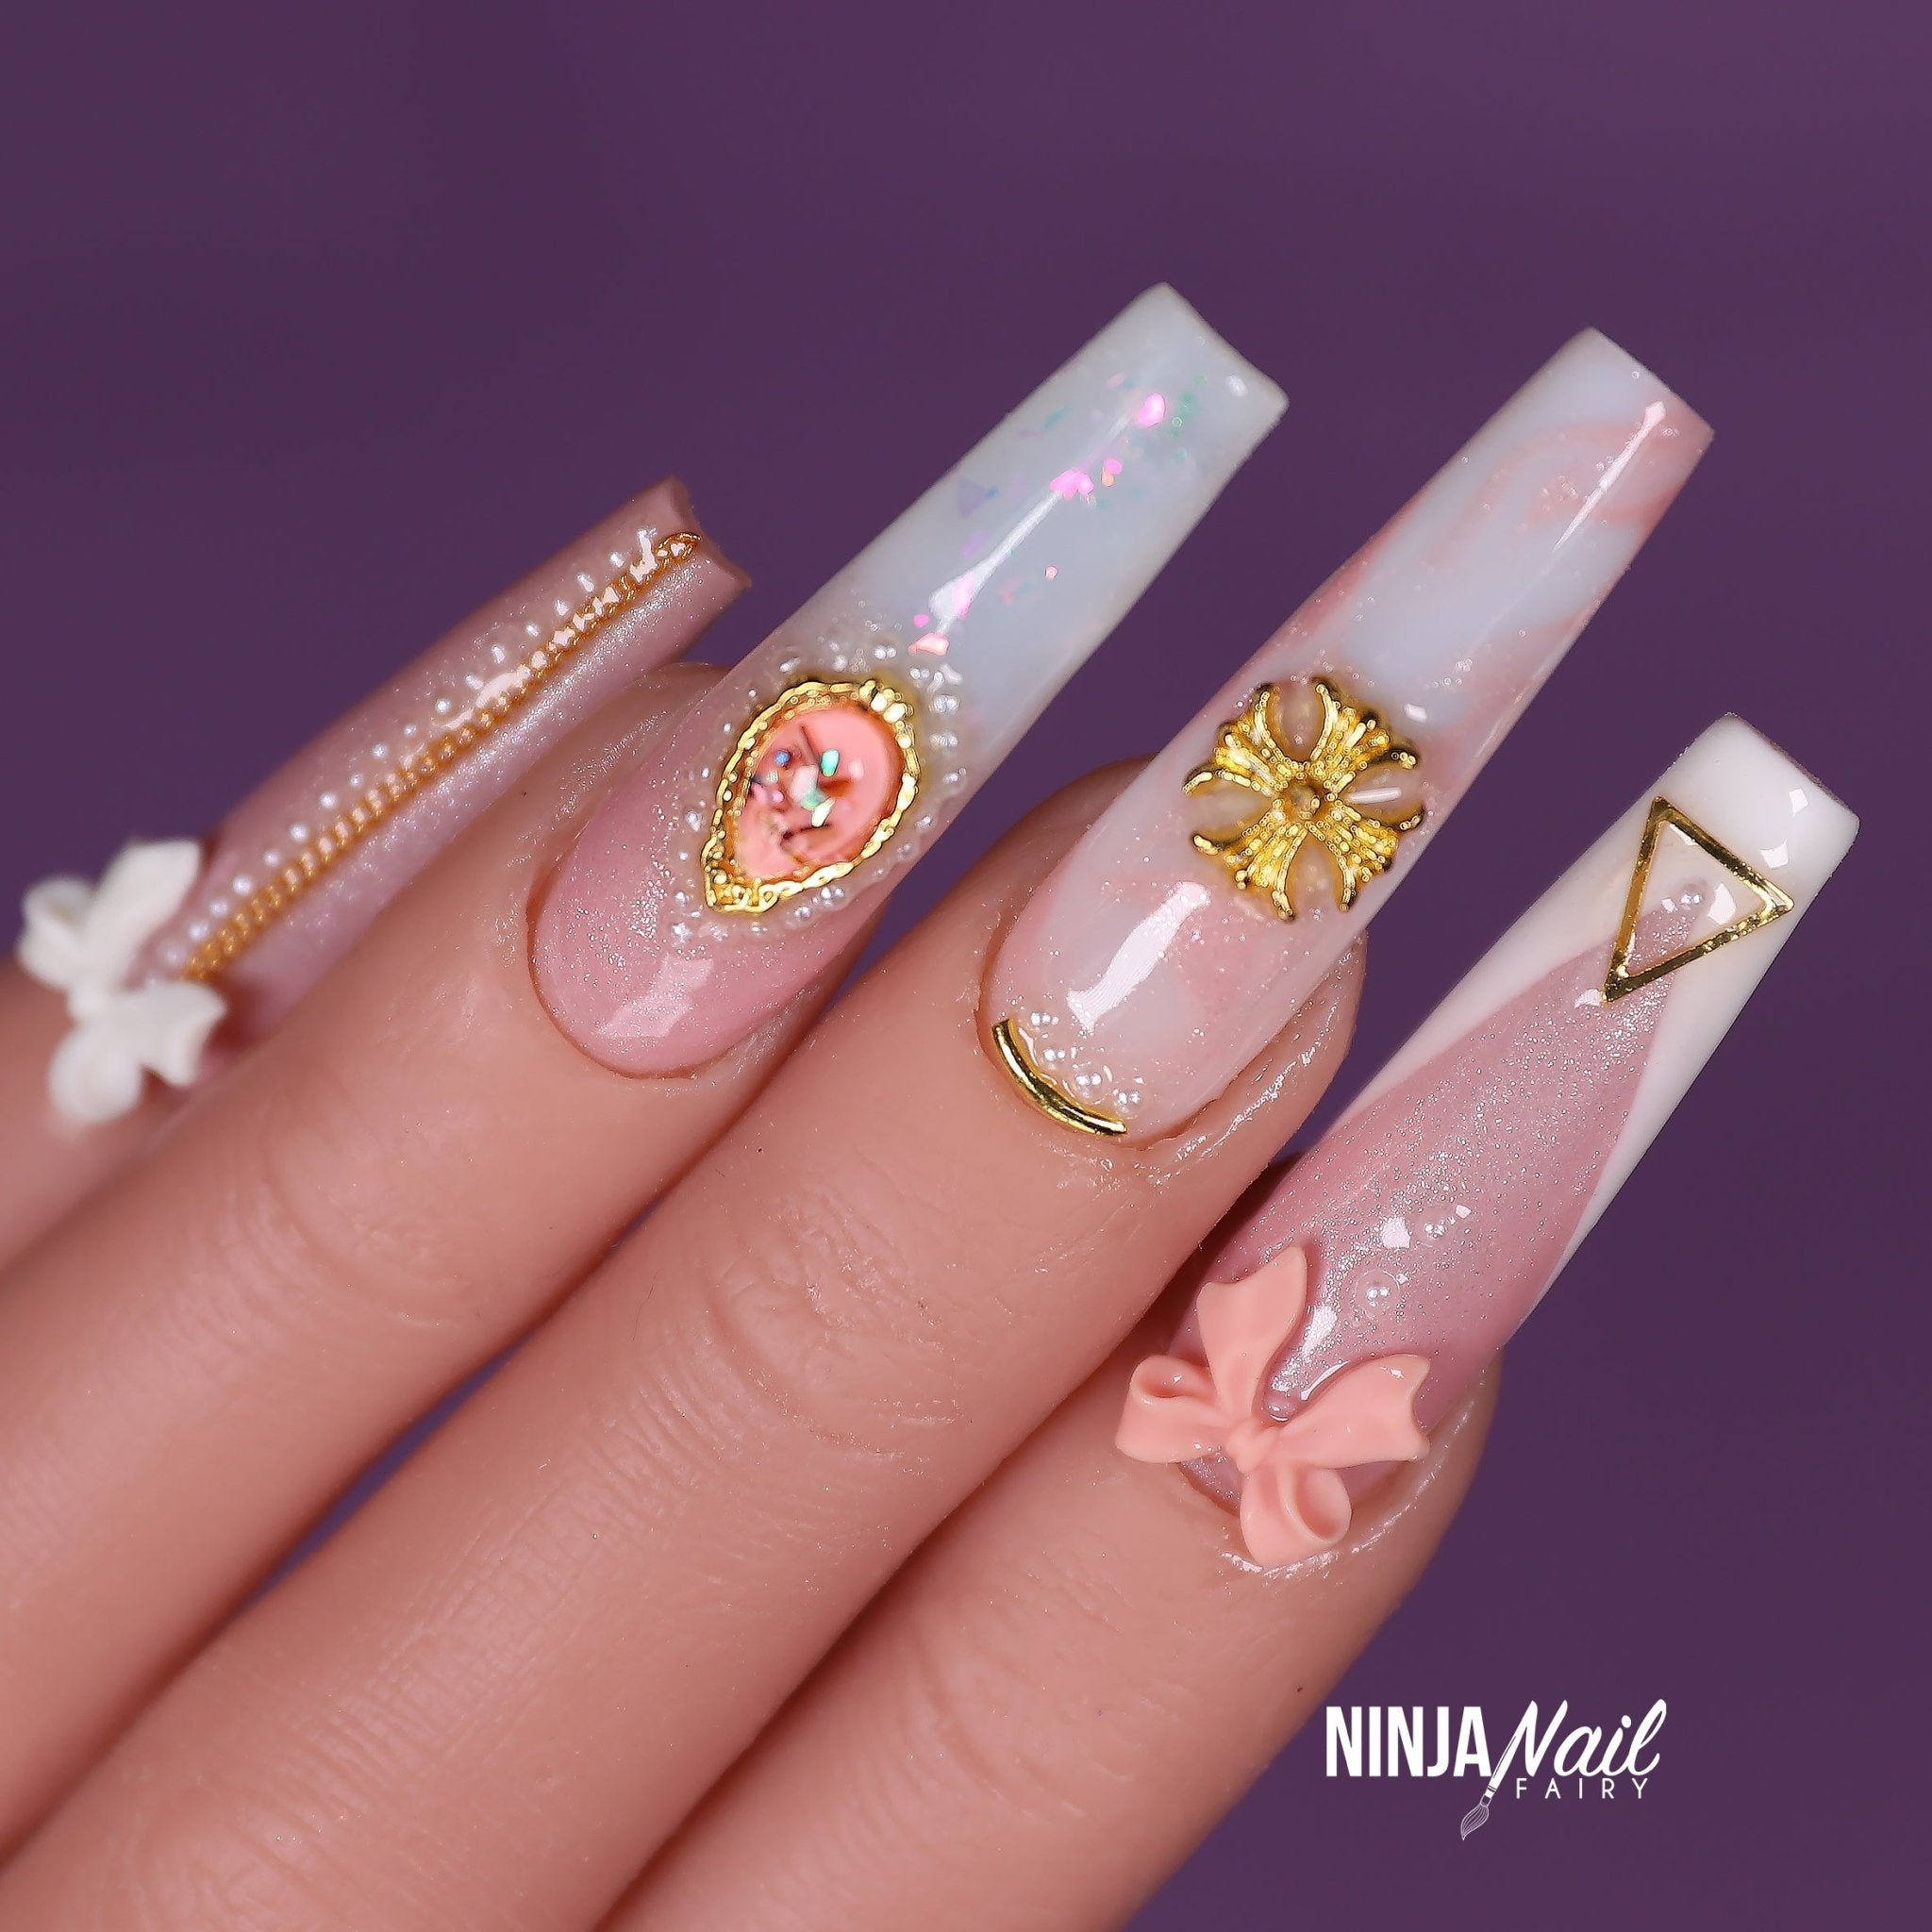
- Build length & encapsulate designs
How to apply Nail Mate Hard gel to nails
Applying hard gel to nails can create a strong, durable base for beautiful manicures and nail art.
Here's a step-by-step guide for using Nail Mates self-leveling Structure gel, a low viscosity builder gel that requires a base coat:
STEP-BY-STEP GUIDE TO APPLYING HARD BUILDER GEL:
1. Preparation:
- Clean Your Hands: Start by washing your hands thoroughly to remove any dirt or oils. Don't use any soaps that contain moisturising properties.
- Trim and Shape Nails: Trim your natural nails to your desired length and shape them using a file. Create the shape that will complement the gel extension. You can add your nail tip or nail form to extend the nails later if needed.
- Push Back Cuticles: Gently push back cuticles with a cuticle pusher to expose the entire nail bed. and use cuticle nippers to remove any excess cuticle.
- Buff the Nails: Lightly buff the surface of each nail to remove shine and create a rough texture for better Structure gel adhesion.
- Clean the Nails: Use the Nail Mate Safe Scrub nail cleanser or isopropyl alcohol on a lint-free wipe to remove any dust and oils from the nail surface.
2. Apply Base Coat:
- Base Coat Application: Apply a thin layer of a compatible base coat to each nail we have 3 options available BUILD+ Clear Rubber base, 2 in 1 HEMA free rubber base or ouroriginal gel base.
- Cure the Base Coat: Place your nails under the Nail Mate PRO+ LED lamp for 60 seconds.
3. Applying Hard Builder Gel:
- Get the Builder Gel Ready: Open the jar of hard builder gel and have a gel brush ready. Don't leave close the the lamp or near any sunlight.
- Apply the Builder Gel: Dip your brush into the gel and pick up a small bead. Place the bead near the center of your nail, away from the cuticle and the edges.
- Spread the Gel: Allow the gel to self-level, using the brush to gently guide it towards the edges of the nail without touching the skin.
- Check the Arch and Thickness: Build the desired structure by adding more gel if needed to create an apex (high point of the nail). You can do this in layers to avoid getting a heat spike, making sure to cure between each layer.
4. Cure the Builder Structure Gel:
- First Cure: Cure your nails under the Nail Mate PRO+ LED lampfor 90s low cure to avoid heat spike.
- Adding More Gel (Optional): If a thicker layer is needed for extra strength, apply additional layers, curing each layer separately.
5. Finishing Touches:
- Remove Sticky Layer: Once fully cured, use a lint-free wipe and safe scrub nail cleanser to remove the sticky inhibition layer from the gel.
- File and Shape: Use a nail file to refine the shape and smooth out high spots. Buff the surface lightly if needed.
- Apply design & Top Coat: Apply your design as desired and a top coat to add shine and protect the gel. Cure as per the top coat's curing instructions, in this case 60seconds.
- Final Cure and Cleanse: Cure under the lamp and perform a final cleanse to remove any remaining sticky residue if your top coat cures with one.
6. Moisturise:
- Cuticle Oil: Finish by washing your hands thoroughly to remove any products from your skin. Then continue applying cuticle oil around each nail and massage gently for hydration and nourishment. Shop our hand made cuticle oils here.
And there you have it! Beautiful, durable nails with the perfect application of hard builder gel.
Who can wear Nail Mate structure gel on their nails?
Nail Mate Structure Gel is for everyone. Use to provide strength and length to natural nails with ease. Sculpt and extend the length or apply as an overlay to fix and repair damaged nails. Structure gel allows you to grow out your natural nails.
Is Structure Gel HEMA & TPO Free?
Yes. Nail Mate 𝗦𝗧𝗥𝗨𝗖𝗧𝗨𝗥𝗘 𝗚𝗘𝗟 gel is 10-Free. This means it is HEMA Free and TPO-Free. Also it does not contain a list of known harmful chemicals that are used in other Gel systems.
We are proud that our systems are all Vegan and cruelty free.
What our customers are saying...


TysheiaPerfect
AlishaGorgeous!
Such a pretty shimmer pink, self levels beautifully, very pigmented and a strong gel i don't have to worry about breaking a nail with this
AlishaThis is such a beautiful colour and the gel is so easy to work with, self levels beautifully, very pigmented and a nice strong gel
Express yourself with
#NailMate Hard Builder Gel

