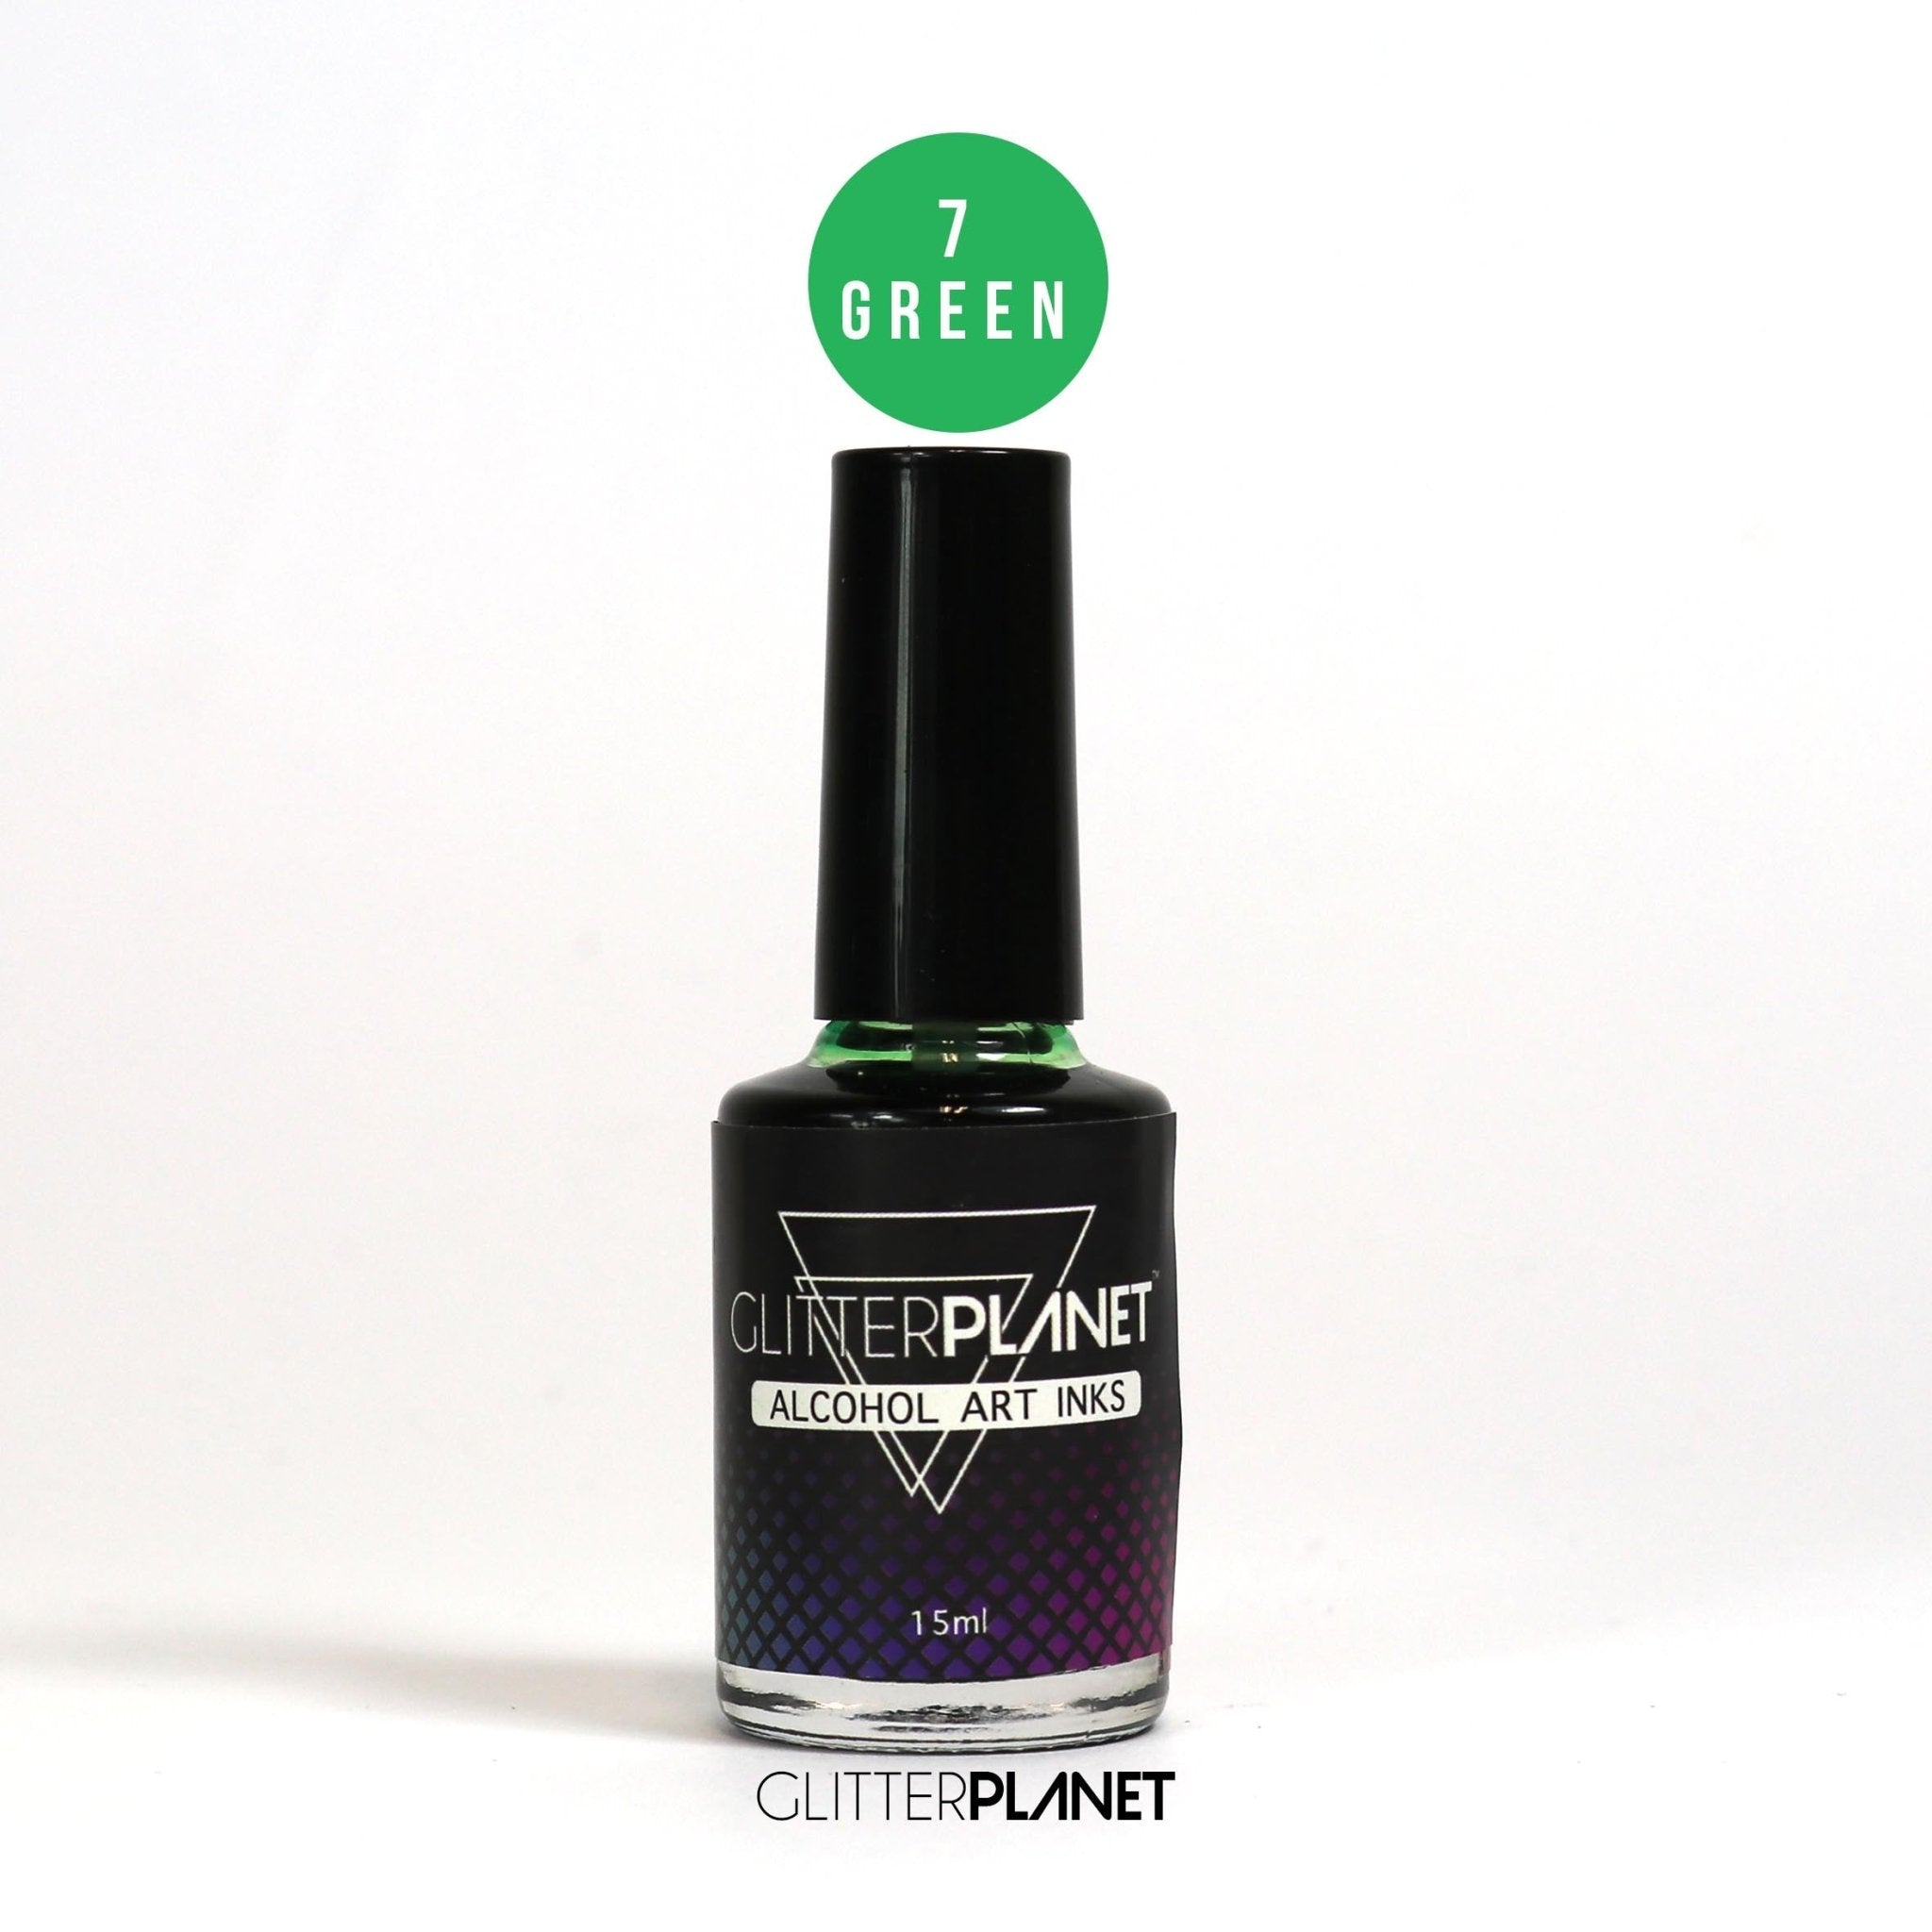
Glitter Planet Marble Art Ink - Green
- Regular price
-
$8.00 - Regular price
-
$11.00 - Sale price
-
$8.00
Couldn't load pickup availability
IMAGINE + CREATE
Alcohol Art Inks
Available in 10 colours- And a BLEND IT Formula
- 01 Blue
- 03 Violet
- 04 Pink
- 06 Yellow
- 07 Green
- 08 Red
- 09 Orange
- 10 Grey
- 11 Aqua
- 12 Teal
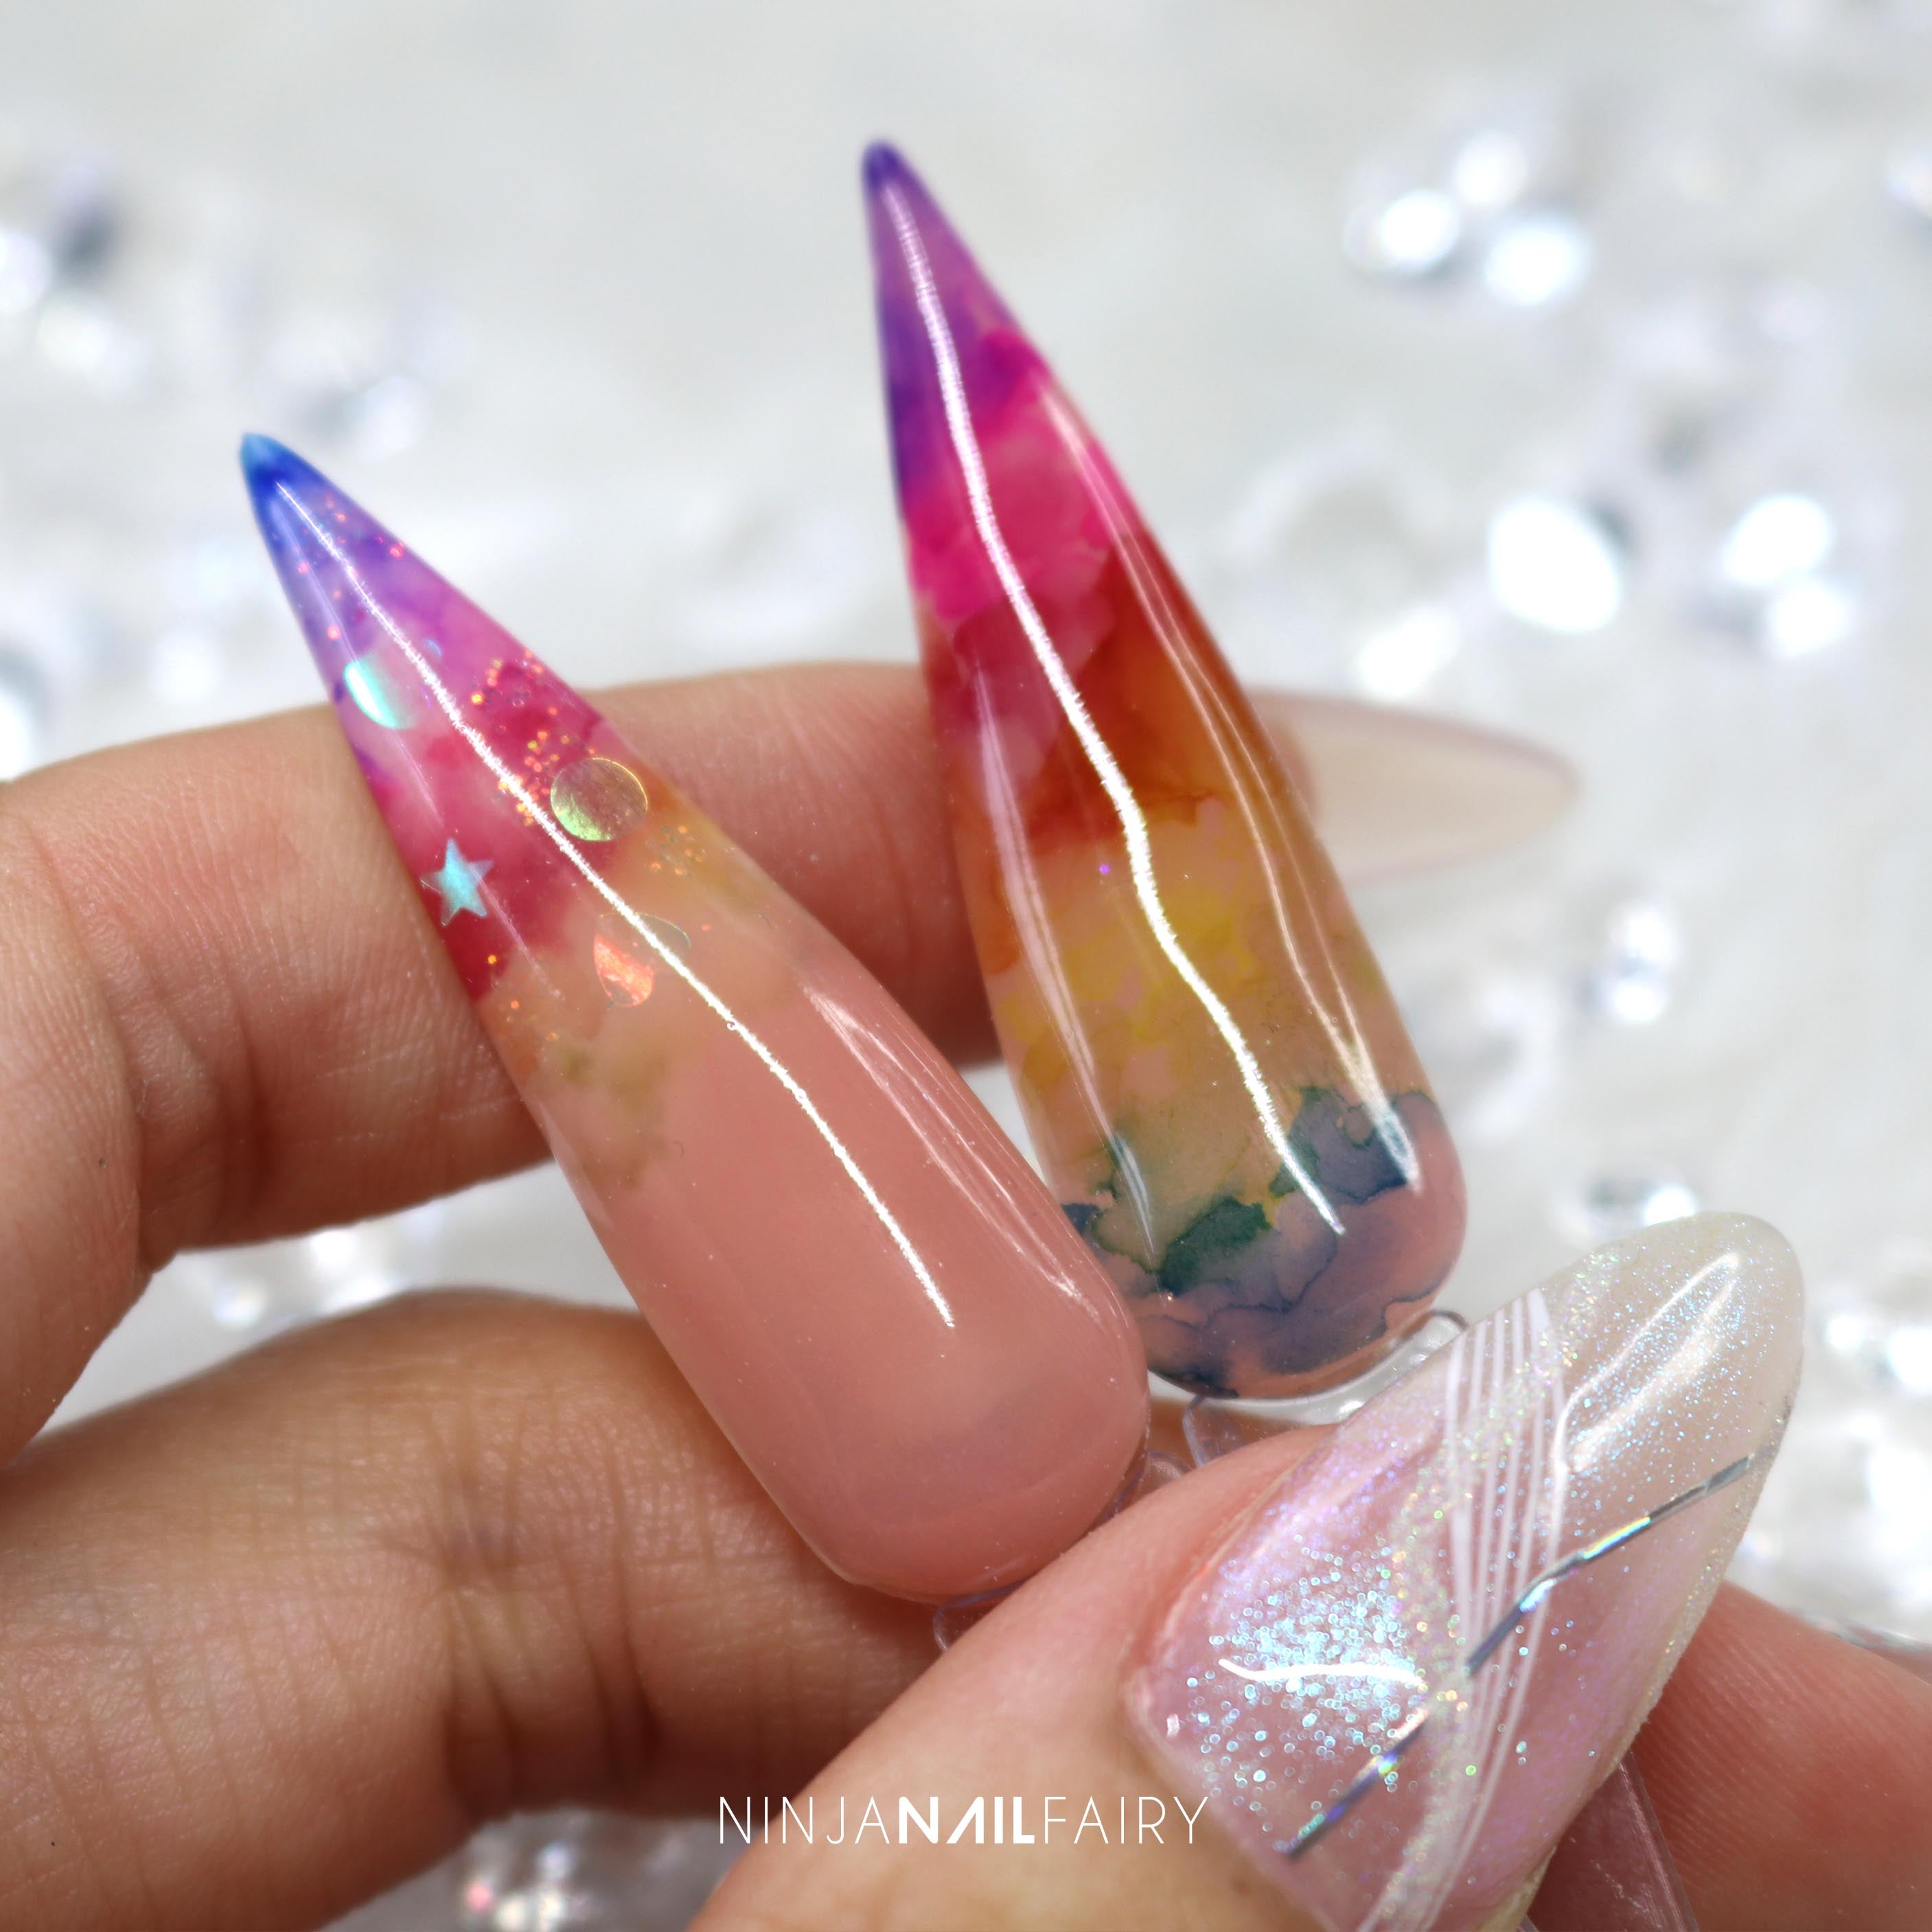
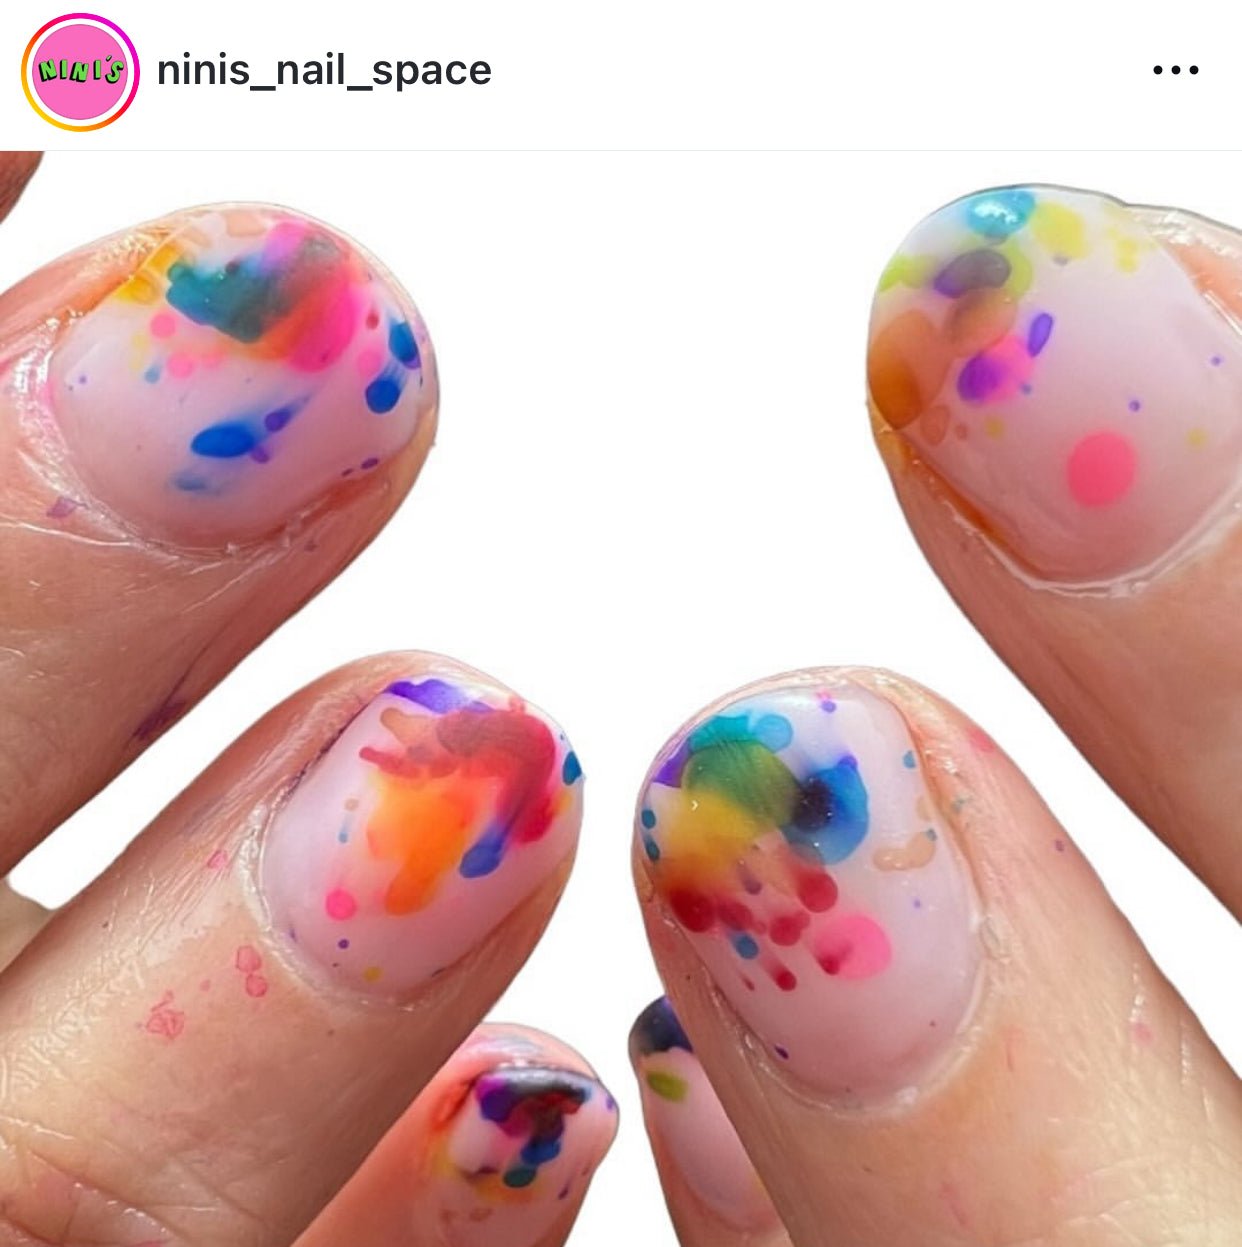
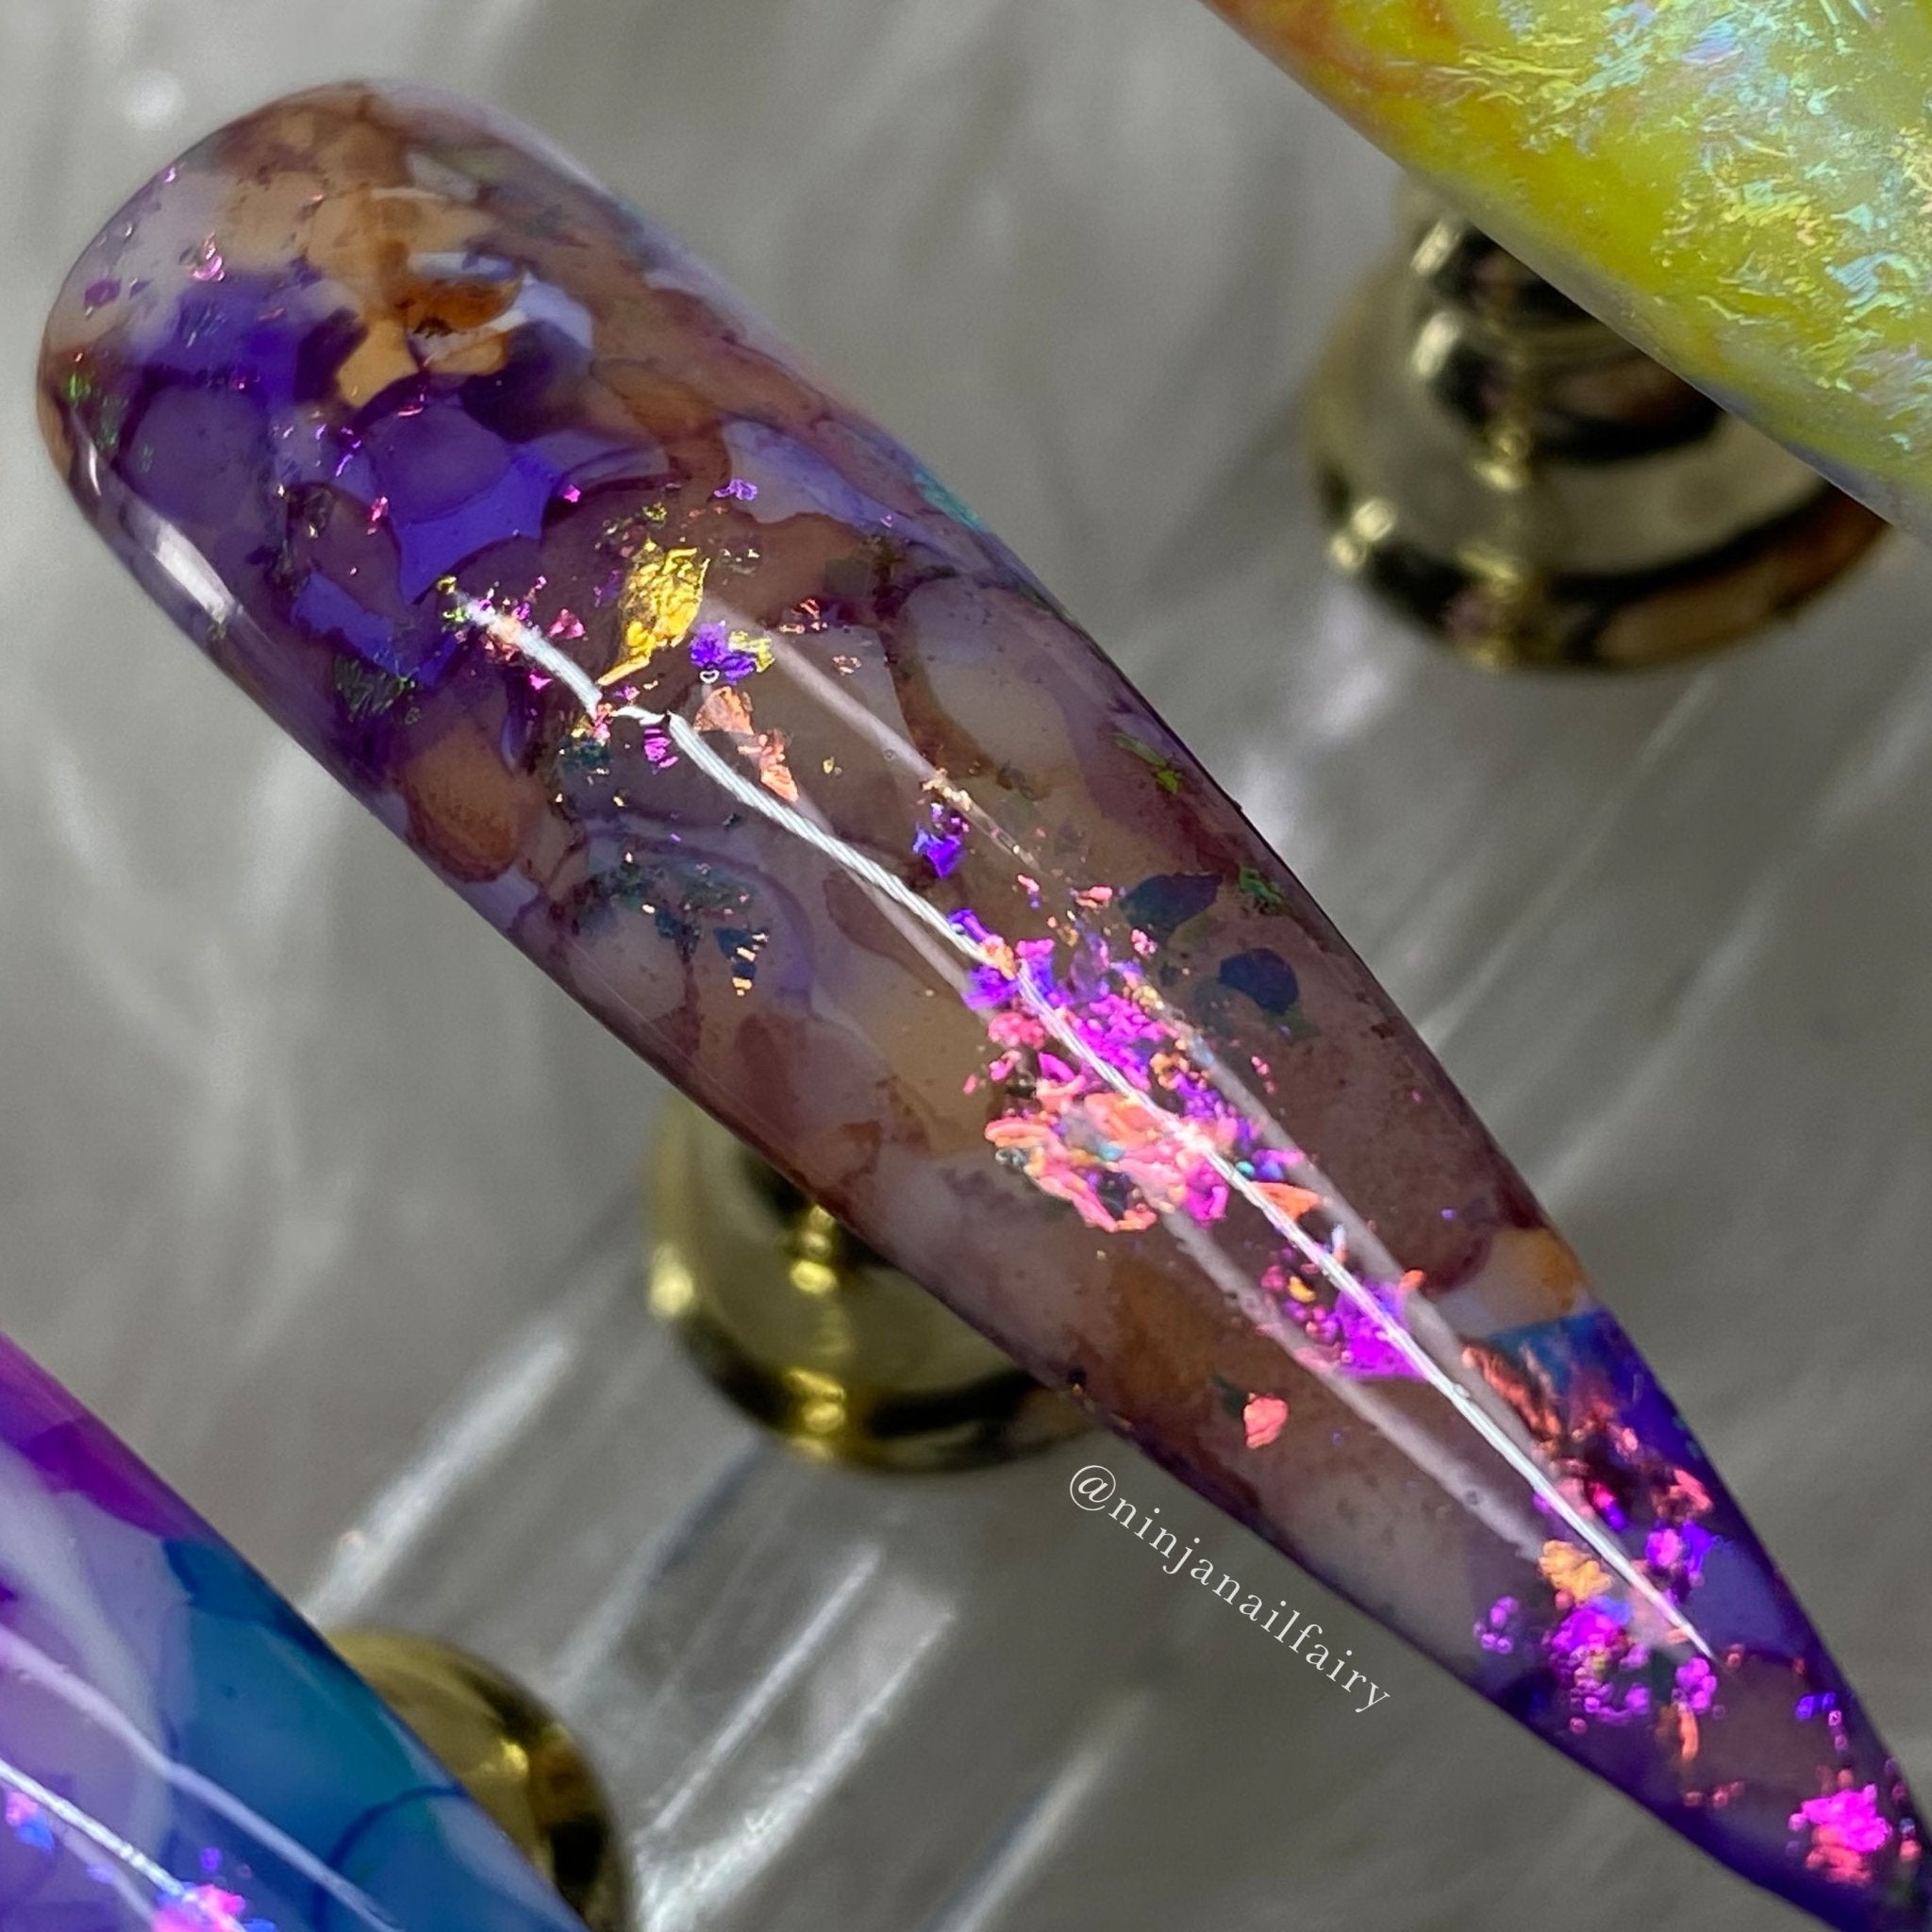
Create stunning and effortless nail art designs with one or all of the colours. Create beautiful tie-dye designs, marbling effects and water colour designs 💜
Use 'Blend It' to disperse the layers of colors to create a variety of different effects. Art Ink works ONLY on matte surfaces. Apply a layer of matte topcoat over colour gel before applying our Art Inks or over a buffed nail. Finish off your design with our 'Super Gloss Top Coat' for a supreme gloss finish.
How to use Glitter Planet Art Inks
Using nail art ink with gel polish or acrylic can create beautiful and dramatic designs. Here's a step-by-step guide for each method:
Using Nail Art Ink with Gel Polish
1. Prepare Your Nails:
- Clean and shape your nails, then push back cuticles.
- Apply a base coat and cure under a UV/LED lamp.
2. Apply Gel Polish:
- Apply your chosen gel polish colour and cure under the lamp. Apply a second coat if desired, curing each layer.
3. Apply a Matte Top Coat:
- For best results with nail art inks, apply a matte top coat and cure. This creates a surface that helps the ink spread and blend more naturally.
4. Apply Nail Art Ink:
- Using a brush, dot or stroke the nail art ink on your nails.
- Allow the ink to spread naturally or use a small brush to guide it for detailed designs.
- Use blending solution or isopropyl alcohol to dilute and blend the colours for various effects.
5. Cure and Finish:
- Once satisfied with your design, let the ink dry completely.
- Apply a final top coat to seal your design and cure under the lamp.
Using Nail Art Ink with Acrylic Nails
1. Prepare Your Acrylic Nails*
- Ensure your acrylic nails are clean and shaped to your liking.
2. Apply a Matte Top Coat :
- For best results with nail art inks, apply a matte top coat and cure. This creates a surface that helps the ink spread and blend more naturally.
3. Apply Nail Art Ink:
- Directly apply the nail art ink onto the cured matte top coat surface.
- Use brushes to create different designs, like marbling or watercolour effects.
- Use a small amount of blending solution or alcohol to enhance the ink's movement on the nail.
4. Seal the Design:
- Allow the ink to dry thoroughly.
- Apply a top coat to protect and seal your design.
Tips for Both Methods:
- Experiment: Practice on a palette before applying directly to nails to get a feel for how the ink reacts with blending solution.
- Clean Brushes: Use the appropriate cleaning solution to keep your brushes clean between colours.
- Experiment with Layers: Try layering different colours and techniques for a unique look.
With these steps, you can create intricate and imaginative designs that stand out. Enjoy experimenting with your nail art inks!
Shipping quick look
Shipping is available worldwide, you can check out your cost quickly by opening the cart and clicking the shipping tab at the bottom of the drawer.

FAQs
What Are Art Inks?
Our Premium Nail art inks are specialised, highly pigmented liquid colours used to create intricate and artistic designs on nails. They are similar in consistency to watercolour paints and are often used to achieve effects like marbling, tie-dye, or floral patterns. Here’s what makes them unique:
1. Consistency and Pigmentation: Nail art inks are typically thinner than regular nail polishes, which allows for easy blending and layering. They are highly pigmented, providing vibrant colours even when used in thin layers.
2. Fast Drying: These inks dry quickly, making them ideal for creating quick designs without long waiting times between layers or colours.
3. Versatile Effects: They are perfect for achieving a variety of effects, from delicate watercolour looks to bold and abstract designs. You can use blending solutions or isopropyl alcohol to soften or spread the ink, enhancing creativity.
4. Application Tools: Applied with brushes, dotting tools, or sponges, nail art inks offer versatility in the design's outcome, allowing for fluid lines and unique textures.
5. Finish: They often dry to a matte finish, which can be sealed with a glossy or matte top coat depending on the desired look.
Nail art inks are suitable for both professional manicurists and at-home nail enthusiasts, providing a wide array of design possibilities limited only by your imagination.
How to Use Glitter Planet Nail Inks
Using nail art ink with gel polish or acrylic can create beautiful and dramatic designs. Here's a step-by-step guide for each method:
Using Nail Art Ink with Gel Polish
1. Prepare Your Nails:
- Clean and shape your nails, then push back cuticles.
- Apply a base coat and cure under a UV/LED lamp.
2. Apply Gel Polish:
- Apply your chosen gel polish colour and cure under the lamp. Apply a second coat if desired, curing each layer.
3. Apply a Matte Top Coat:
- For best results with nail art inks, apply a matte top coat and cure. This creates a surface that helps the ink spread and blend more naturally.
4. Apply Nail Art Ink:
- Using a brush, dot or stroke the nail art ink on your nails.
- Allow the ink to spread naturally or use a small brush to guide it for detailed designs.
- Use blending solution or isopropyl alcohol to dilute and blend the colours for various effects.
5. Cure and Finish:
- Once satisfied with your design, let the ink dry completely.
- Apply a final top coat to seal your design and cure under the lamp.
Using Nail Art Ink with Acrylic Nails
1. Prepare Your Acrylic Nails*
- Ensure your acrylic nails are clean and shaped to your liking.
2. Apply a Matte Top Coat :
- For best results with nail art inks, apply a matte top coat and cure. This creates a surface that helps the ink spread and blend more naturally.
3. Apply Nail Art Ink:
- Directly apply the nail art ink onto the cured matte top coat surface.
- Use brushes to create different designs, like marbling or watercolour effects.
- Use a small amount of blending solution or alcohol to enhance the ink's movement on the nail.
4. Seal the Design:
- Allow the ink to dry thoroughly.
- Apply a top coat to protect and seal your design.
Tips for Both Methods:
- Experiment: Practice on a palette before applying directly to nails to get a feel for how the ink reacts with blending solution.
- Clean Brushes: Use the appropriate cleaning solution to keep your brushes clean between colours.
- Experiment with Layers: Try layering different colours and techniques for a unique look.
With these steps, you can create intricate and imaginative designs that stand out. Enjoy experimenting with your nail art inks!
Are Glitter Planet inks Vegan & Cruelty Free?
Yes. Glitter Planet Inks are Vegan & Cruelty Free.
What our customers are saying...


AlishaSo good
Best and fastest way to get that beautiful marble look
Laura-AnneMust have!!
I have bought most of these coloured inks now and they are so easy to work with! Can create amazing effect with them.
Products I didnt realise I needed till now100% recommend
ShellyVery fun
Love these inks so fun to create with
Watch a Video Using the inks
Express yourself with
#GlitterPlanet Nail Inks


